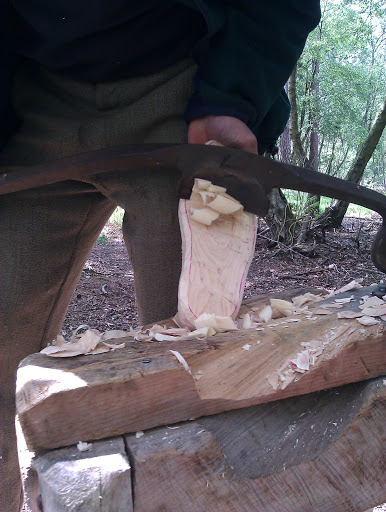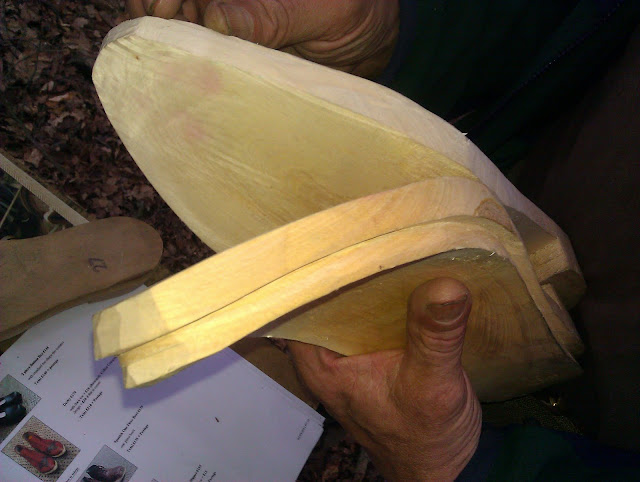
Tools were straight forward. A well worn bench set up at about thigh height and a choice of 2 stock knives. One was a straight single bevelled blade on about a 3 foot handle. There is a hook at the end of the blade which locates in an eye in the bench and gives a vague ‘impression’ of control and safety in use! . The other is very similar except it has a curved blade much like a spoon knife and was used later on in the process for carving out the profile of the foot where it sits in the clog. In addition, a rebating knife, basically a tethered V gouge, was used to rebate the sole where an upper could be attached. Anyone who has done this course or tried using one of these will have their own name for it. I could have probably spent the whole 2 days, just trying to get the hang of it alone.

So to the method. Cleave a piece of wood to roughly the size you want. In our case we had some nice green alder, other woods like sycamore can be used, but alder was often chosen as it was cheap and easily available – remember this was footwear for the proletariat. Draw a cardboard pattern around your foot and cut it out. The next part would take an expert like Jeremy about an hour and half to rough out and pare down to size. We spent about a day and a half getting there. It’s one of those techniques which defy explanation, you really just have to do it. In fact although Jeremy does have an extensive and colourful vocabulary, he frequently had to just grab our work and get into position with it before he could explain his posture and technique. A lot of the control does come from the knife, but the skill also lies in the way you brace the piece, move it in tandem with the knife and feather and adjust the angles to gain power, control and leverage. There’s a lot to think about not least of which is safety. These knives need to be kept razor sharp, so any slip ups could be disastrous. There were only two of us on the course and after a while I discovered why. Jeremy had positioned himself on a chair about 4 feet away from our benches and although he is a formidable raconteur and we covered a great deal of ground outside the sphere of traditional clog making, he was never distracted and if we put so much as a little finger nail out of place he would stop us before we could do any damage. Any more than two students on a course like this would be very difficult to supervise safely.

So eventually towards the end of the second day, aided with a rasp and a bit of added confidence, we arrived at a shape we were happy with. The end grains of the soles were covered with a bit of beeswax to prevent them from splitting as they dry out, they are now in a dark corner of my shed. Once they are seasoned I’ll be bugging Jeremy to help me fit the uppers. Sadly the craft is dying out, Jeremy is one of the last craftsmen in the country still making clogs this way. The course was both challenging and enjoyable, but mostly it really opened my eyes to the great skill and time it takes to master the craft, You can find out more about clogmaking and view some of Jeremy’s work by visiting his website at http://www.clogmaker.co.uk/index.php.
________________
Richard Hare
SWOG website editor