
There’s nothing more satisfying than making something for the wood from the wood. Anything from a teaspoon to a log cabin can be fashioned from the materials you find growing or lying around. It keeps our 21st century plastic clutter out of sight and means everything is low impact and will eventually return to where it came from.
Here’s an idea for a log cabin on a slightly smaller scale, one for our feathered friends.
You will need a log, a froe, a beetle (mallet), a saw, a drill and a few nails, I prefer the lost head type which can be punched in and become ‘invisible’, so you’ll need a punch as well if you want to hide the secret of how this is done!
Your log will need to be clean and straight with no knots and angled to allow the water to run off. I suppose you could use any wood which splits easily, but if you’ve got chestnut or oak, it will obviously last longer than birch or willow. The chestnut I’m using here is almost a year old and seems to be at it’s optimum for splitting.
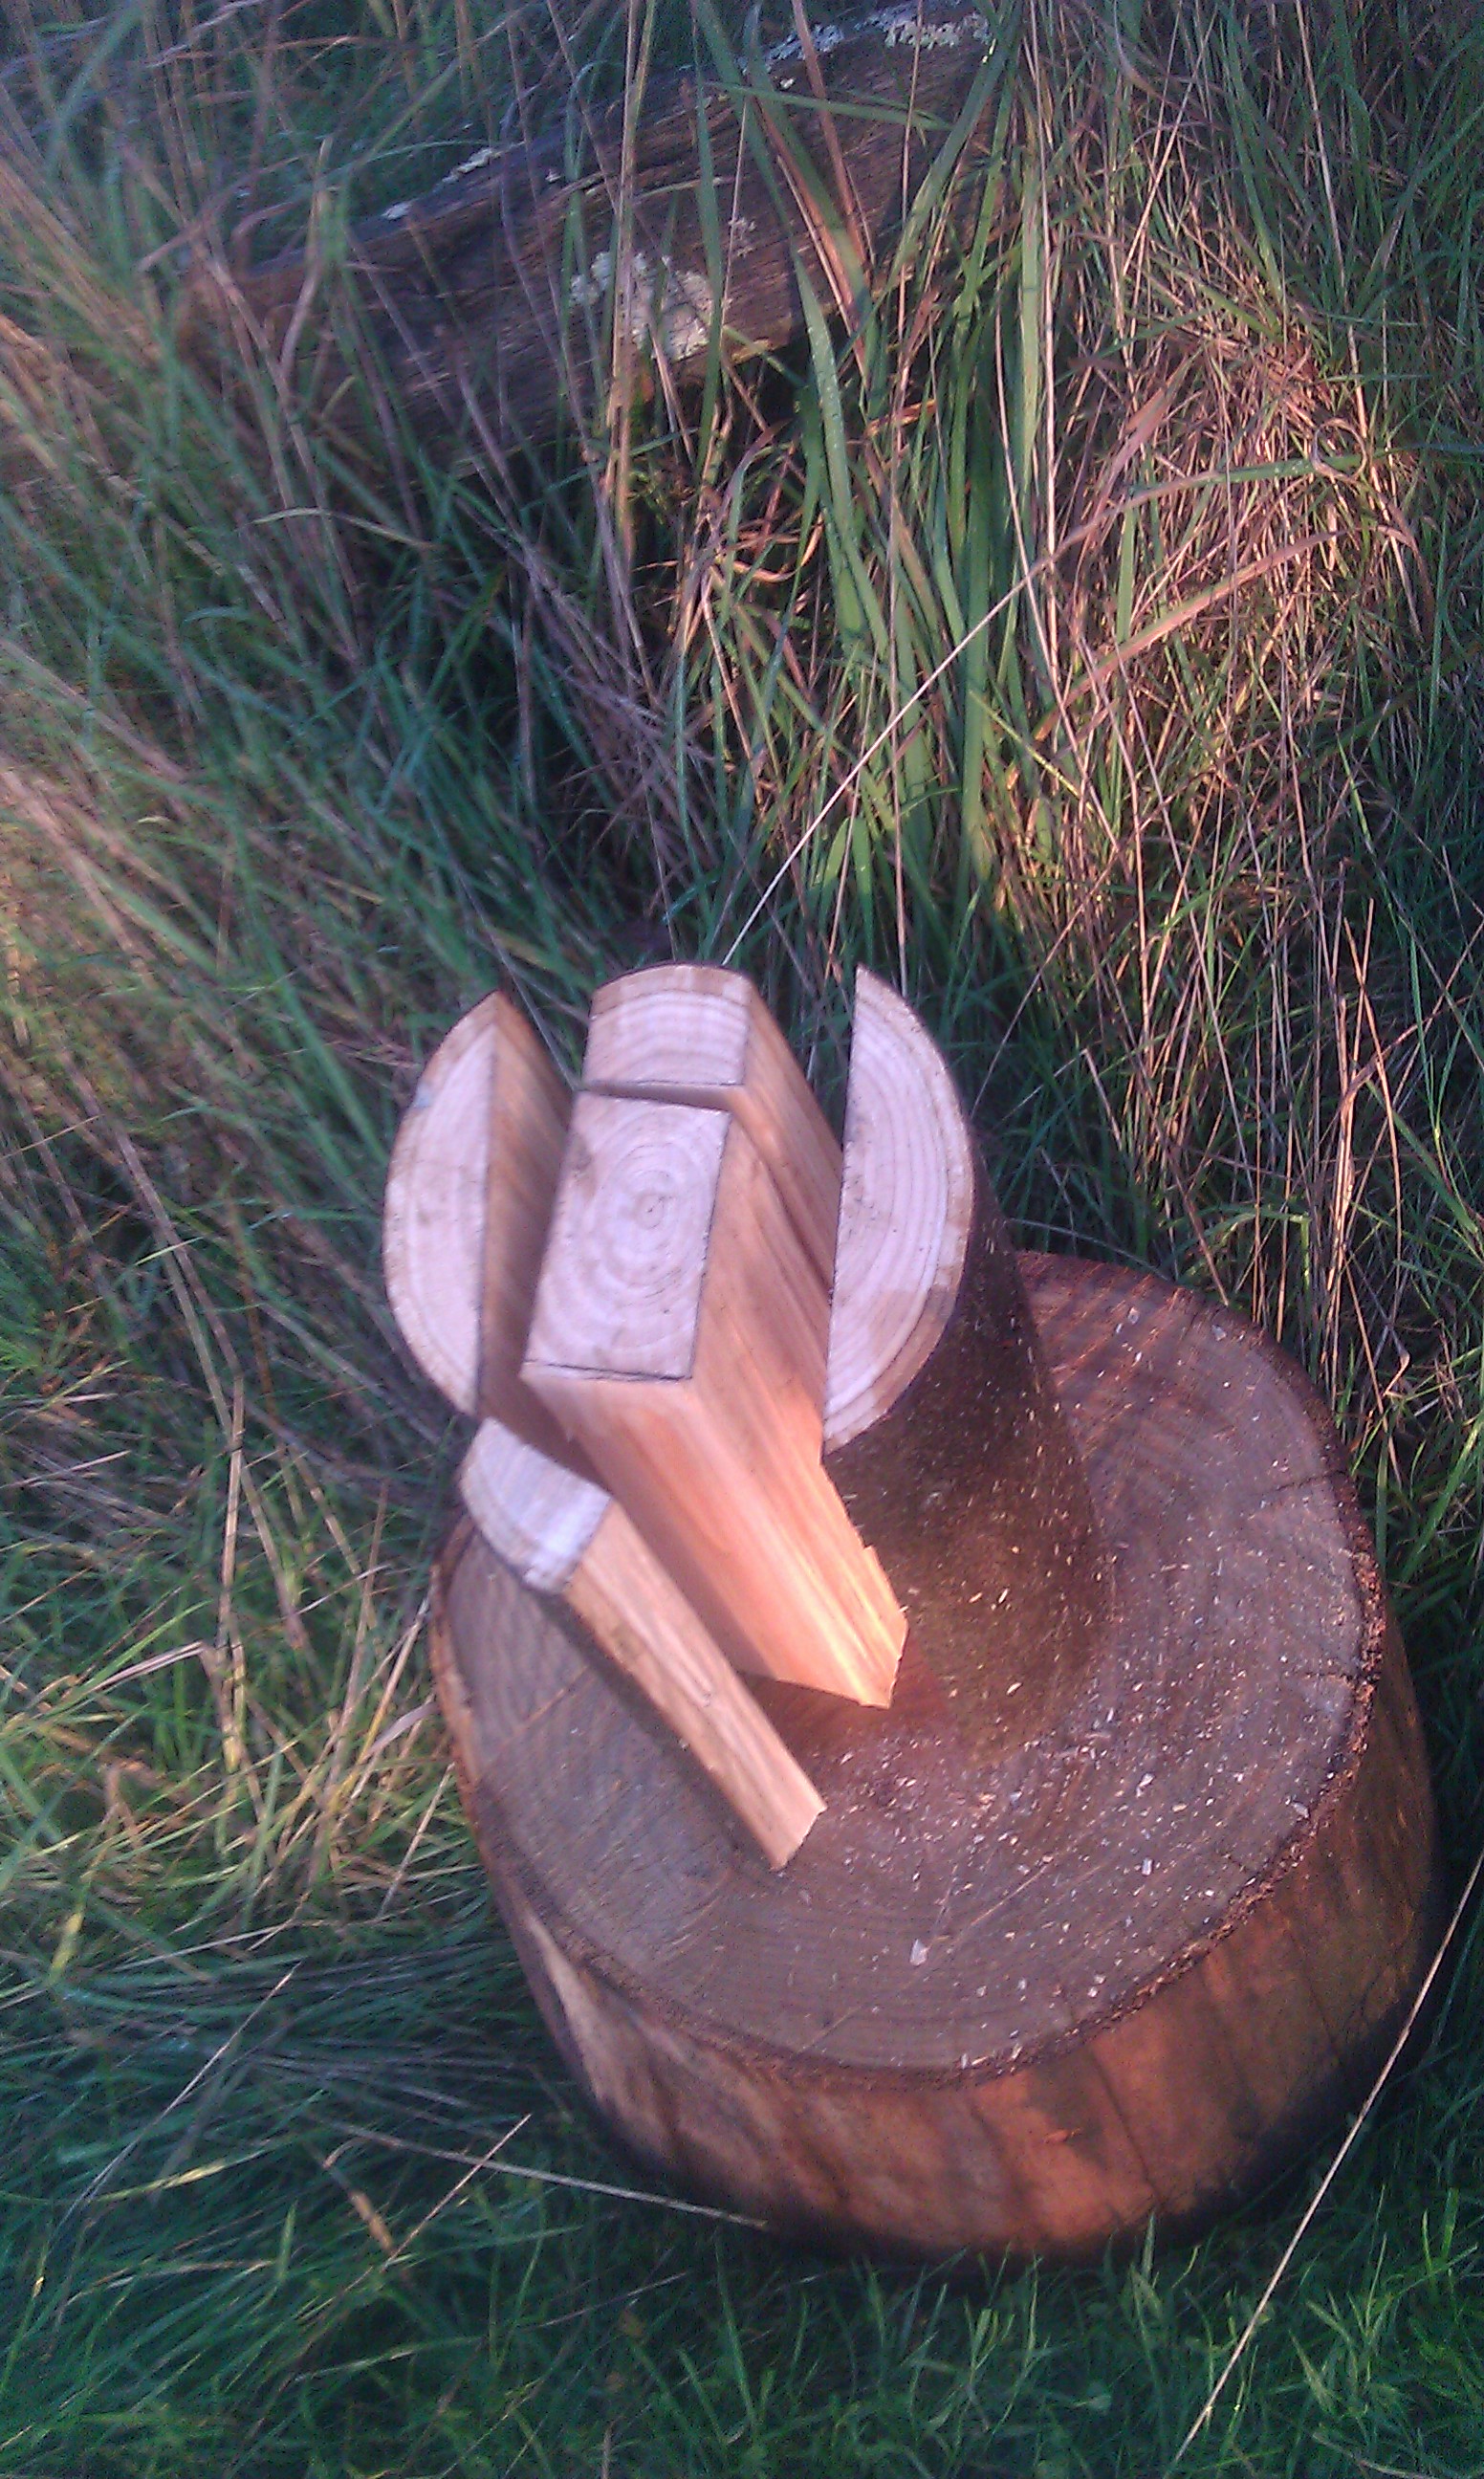
Cleave off the sides first, I find with chestnut that one swift hit with the beetle is usually enough. Sometimes you may find a hidden knot or for some other reason you don’t get a clean split. Throw that on your log pile and get another one.
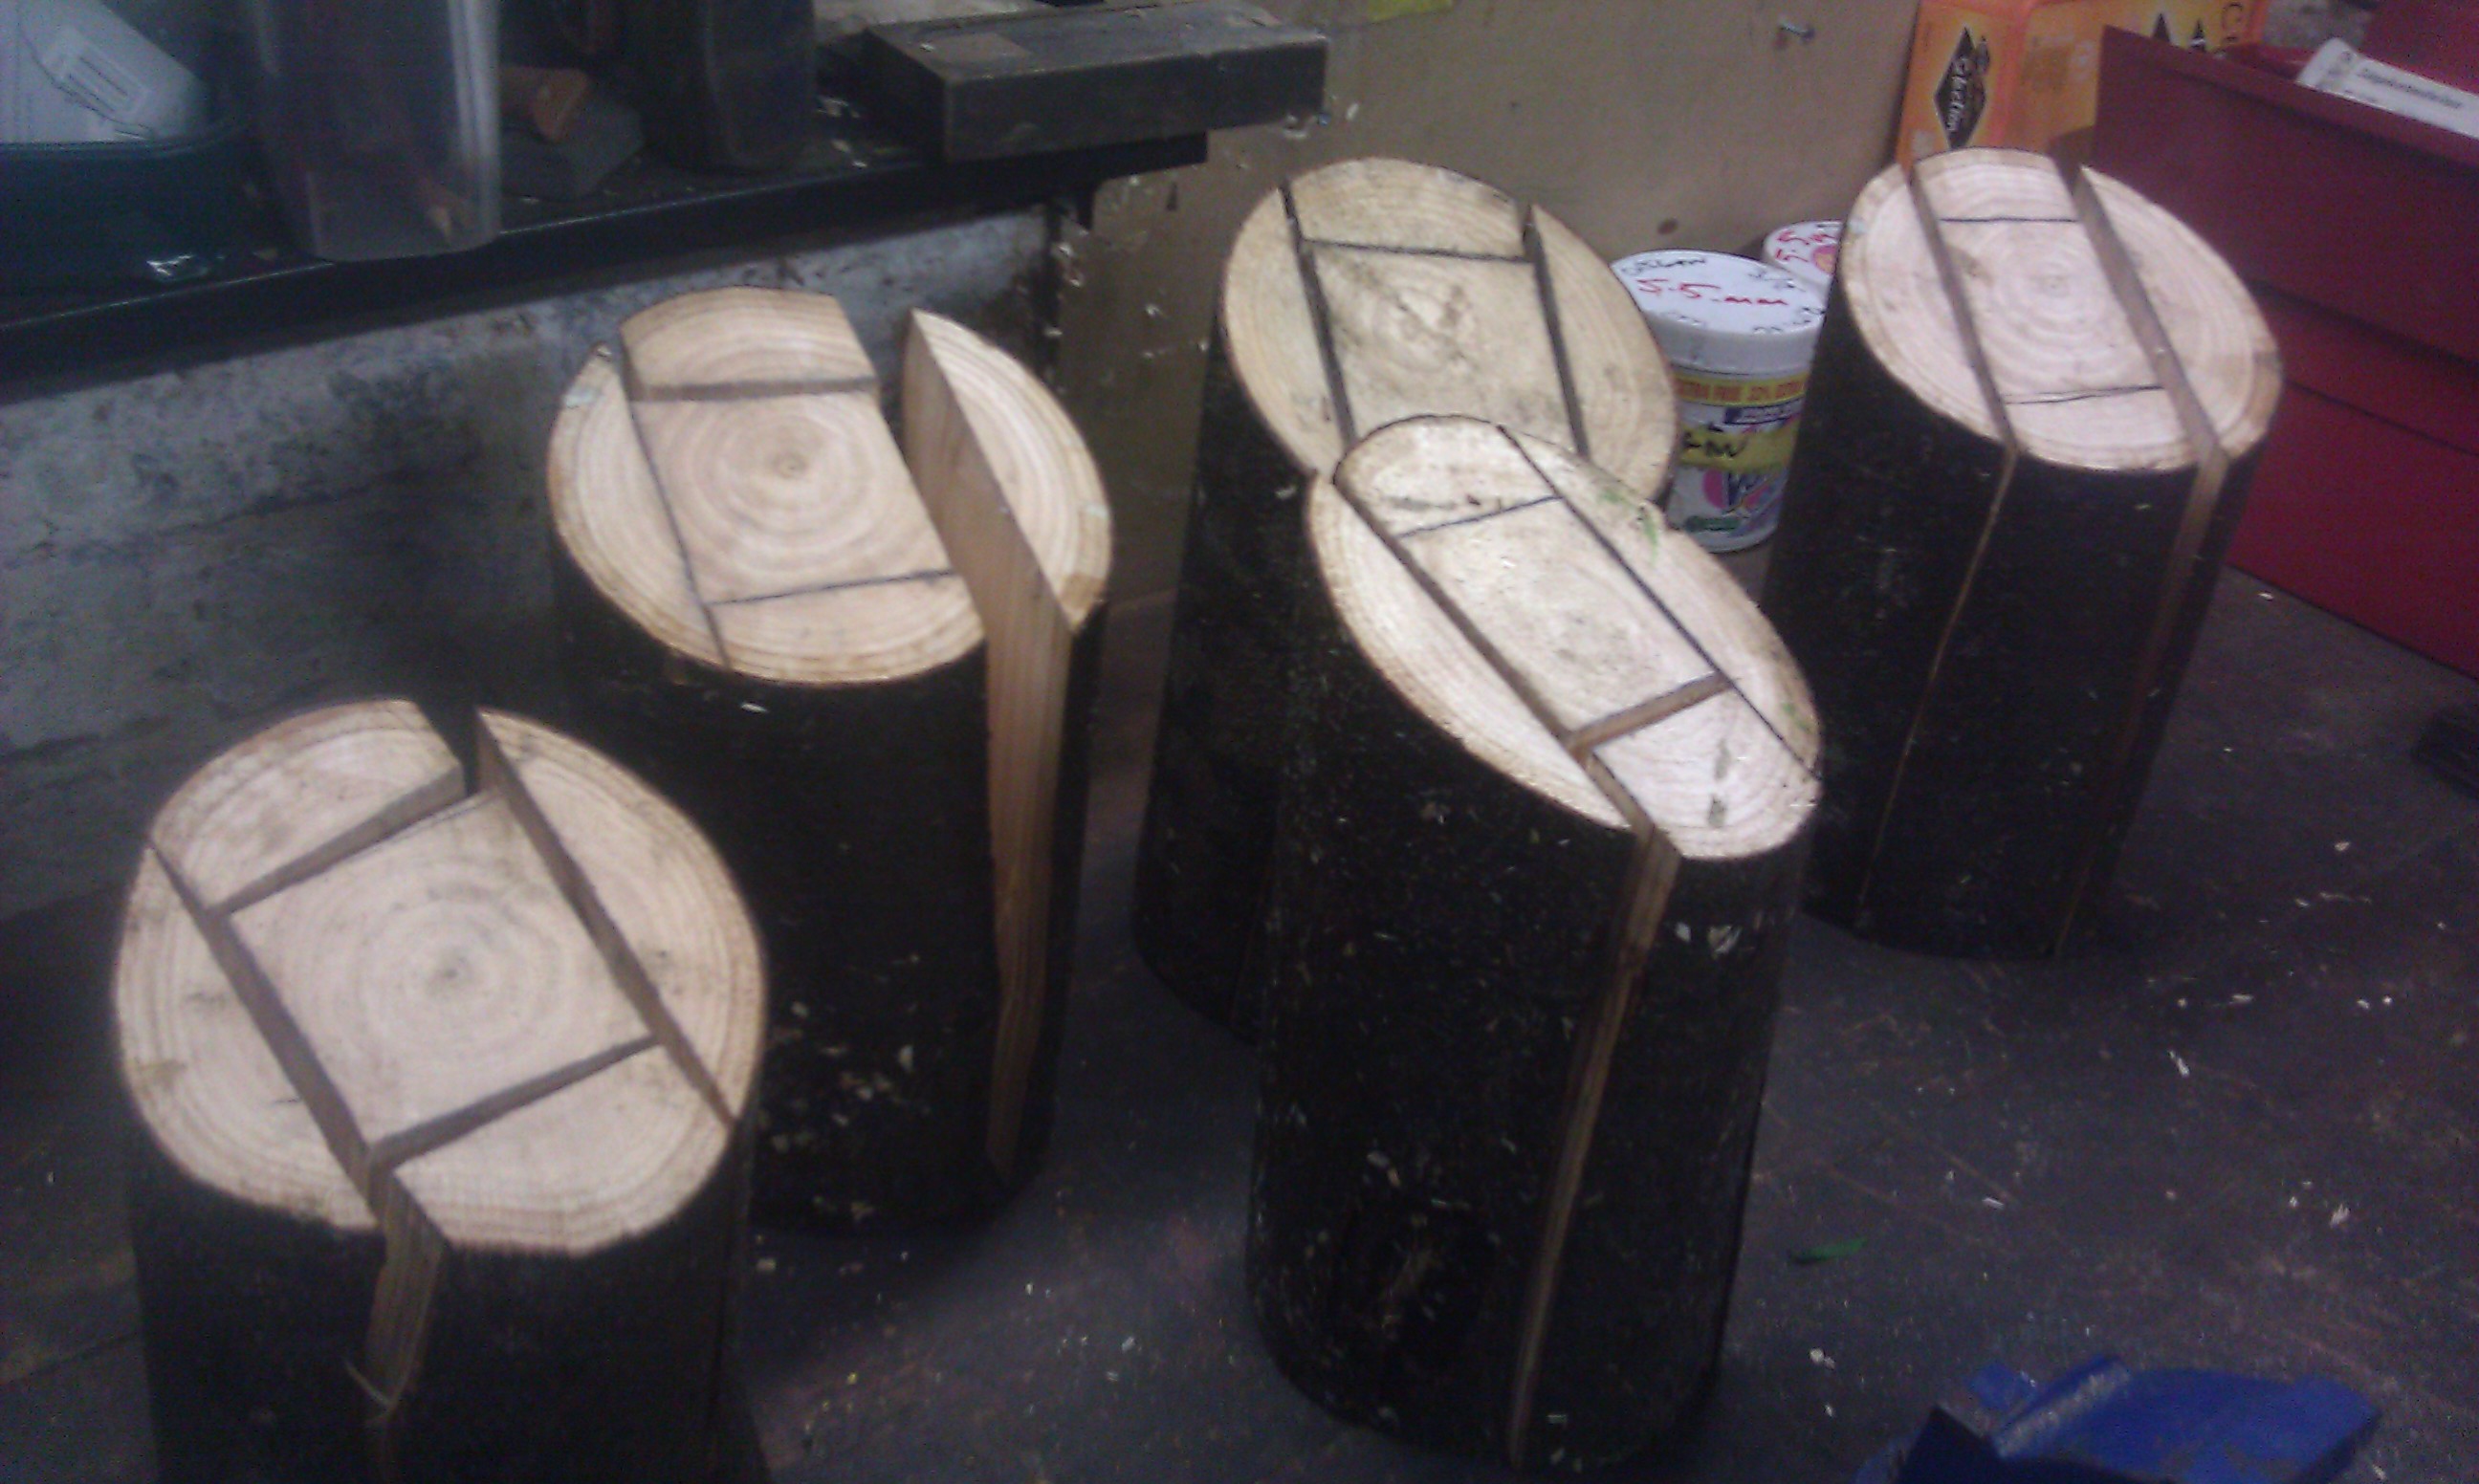
Out of 10 logs I tried to split, 5 came out pretty well.
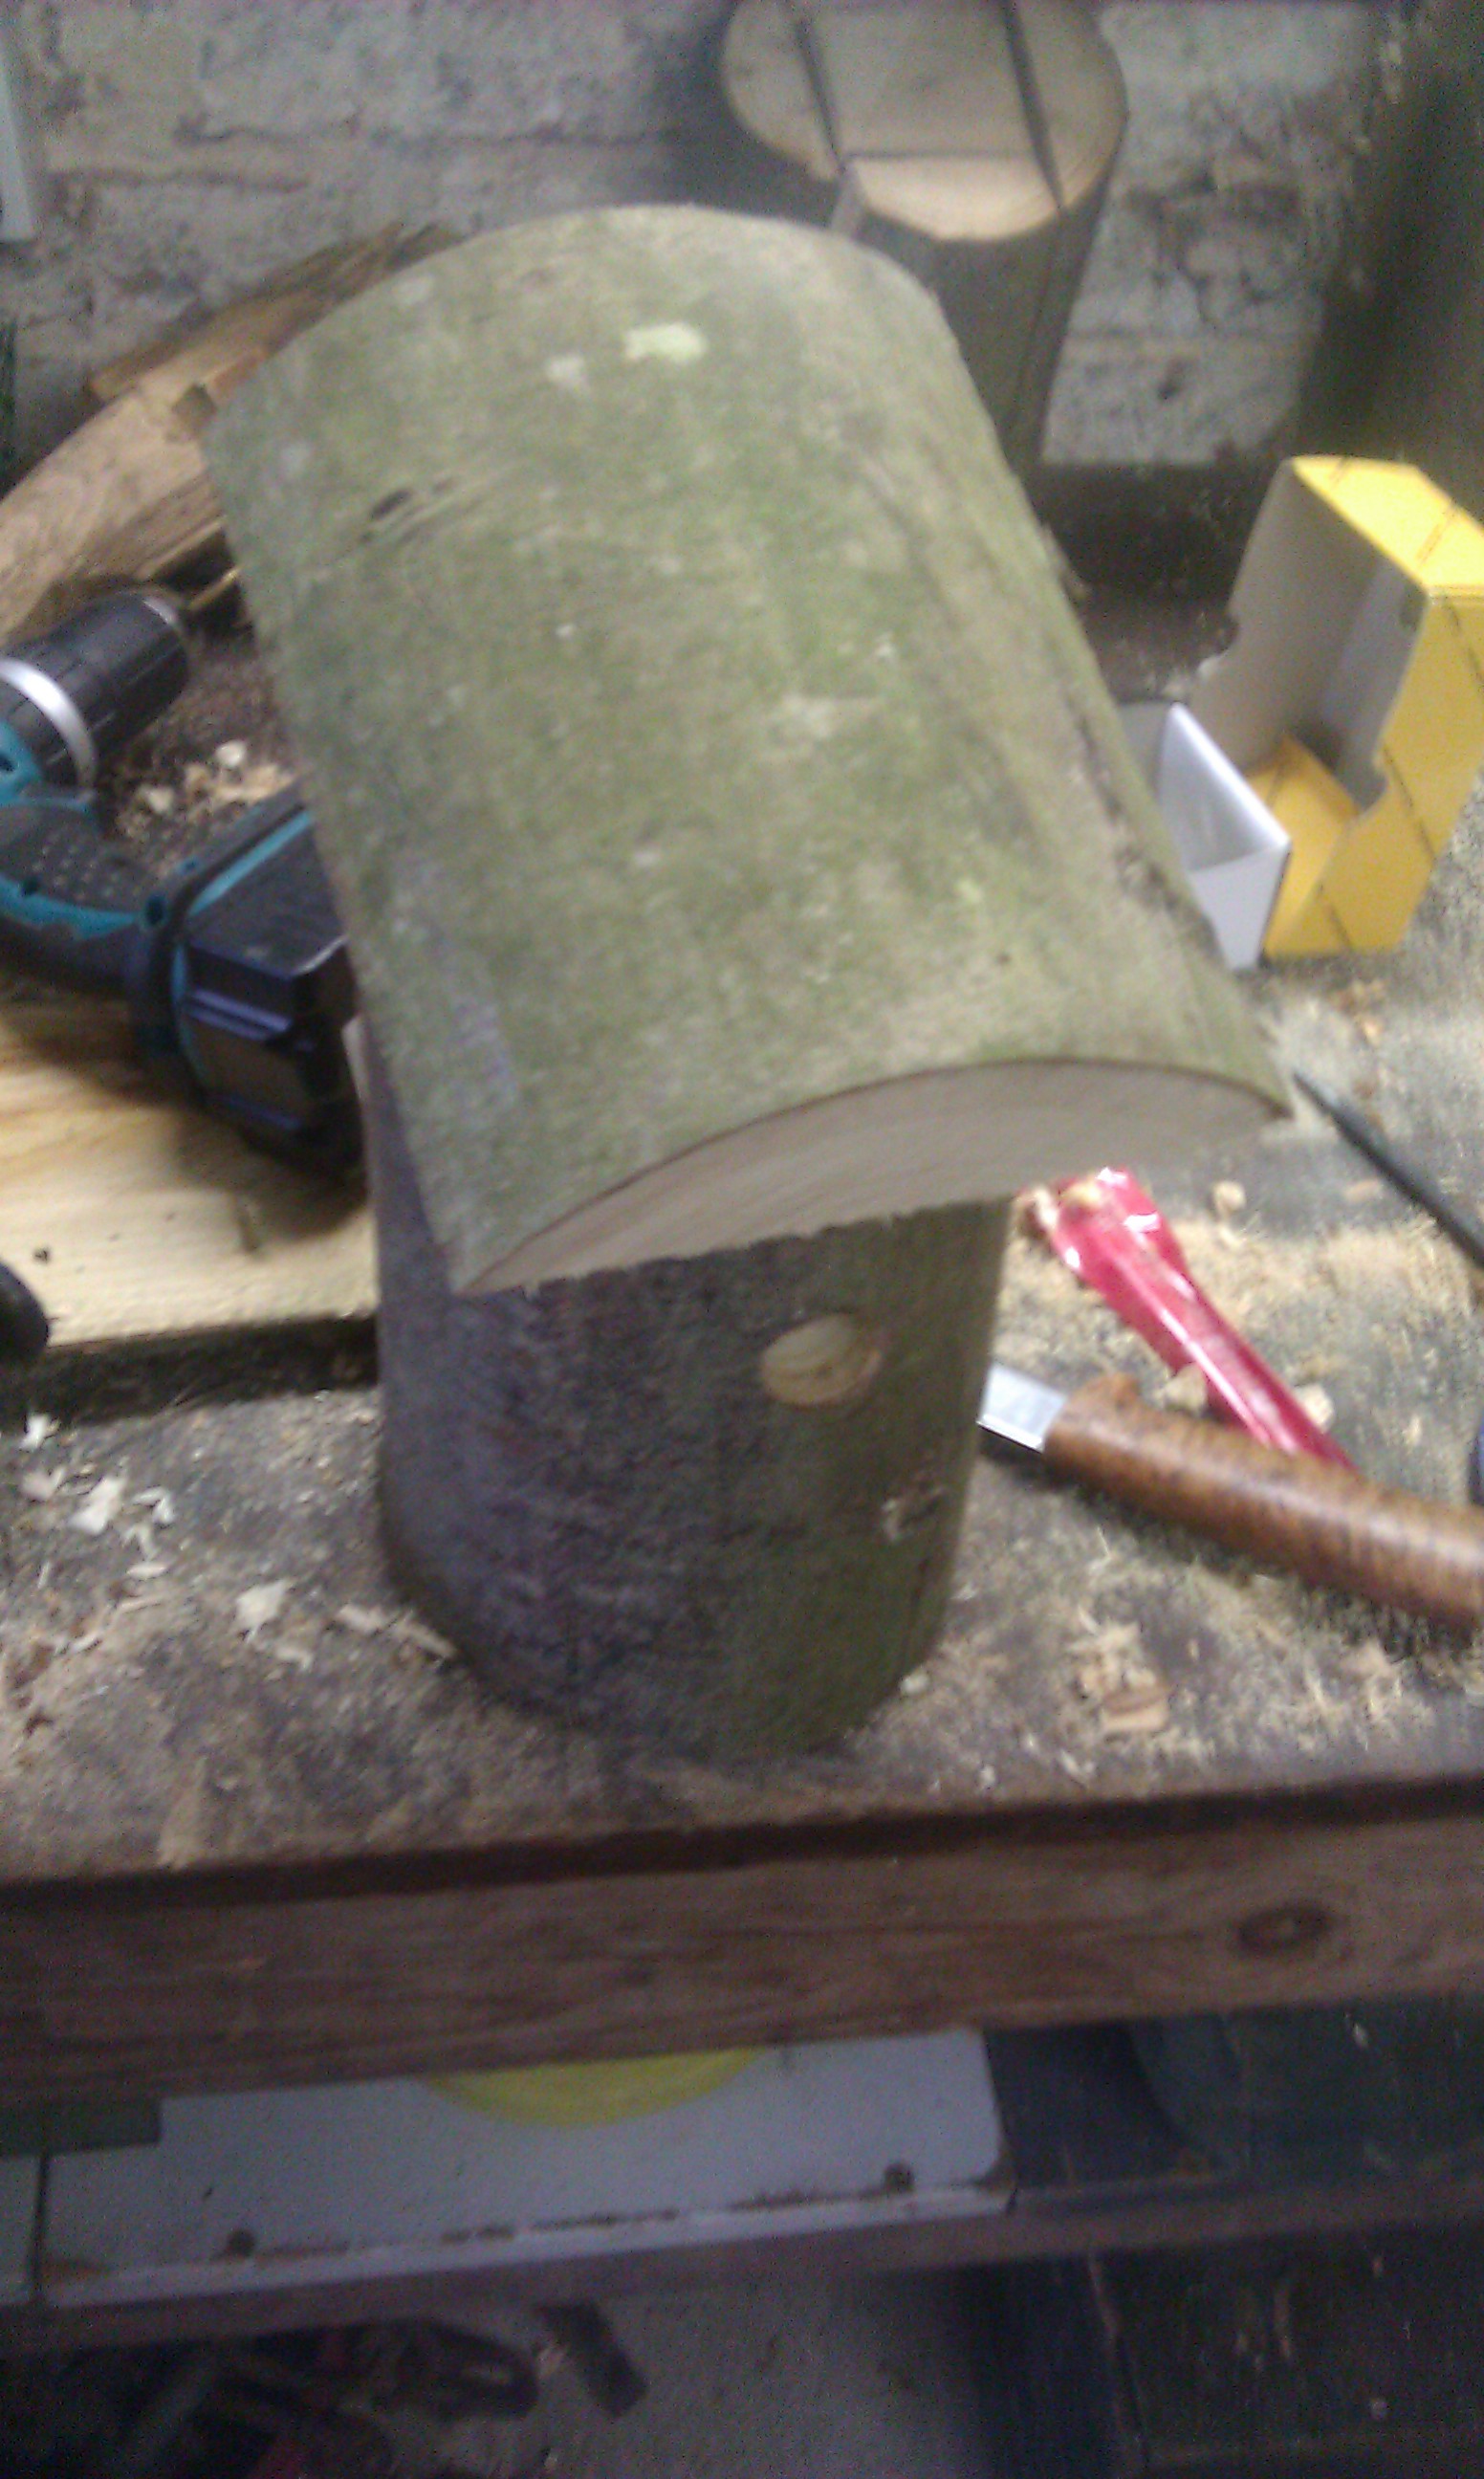
Take the middle section out and cut a couple of inches off the end, this will be the floor, the other piece can go on your log pile!
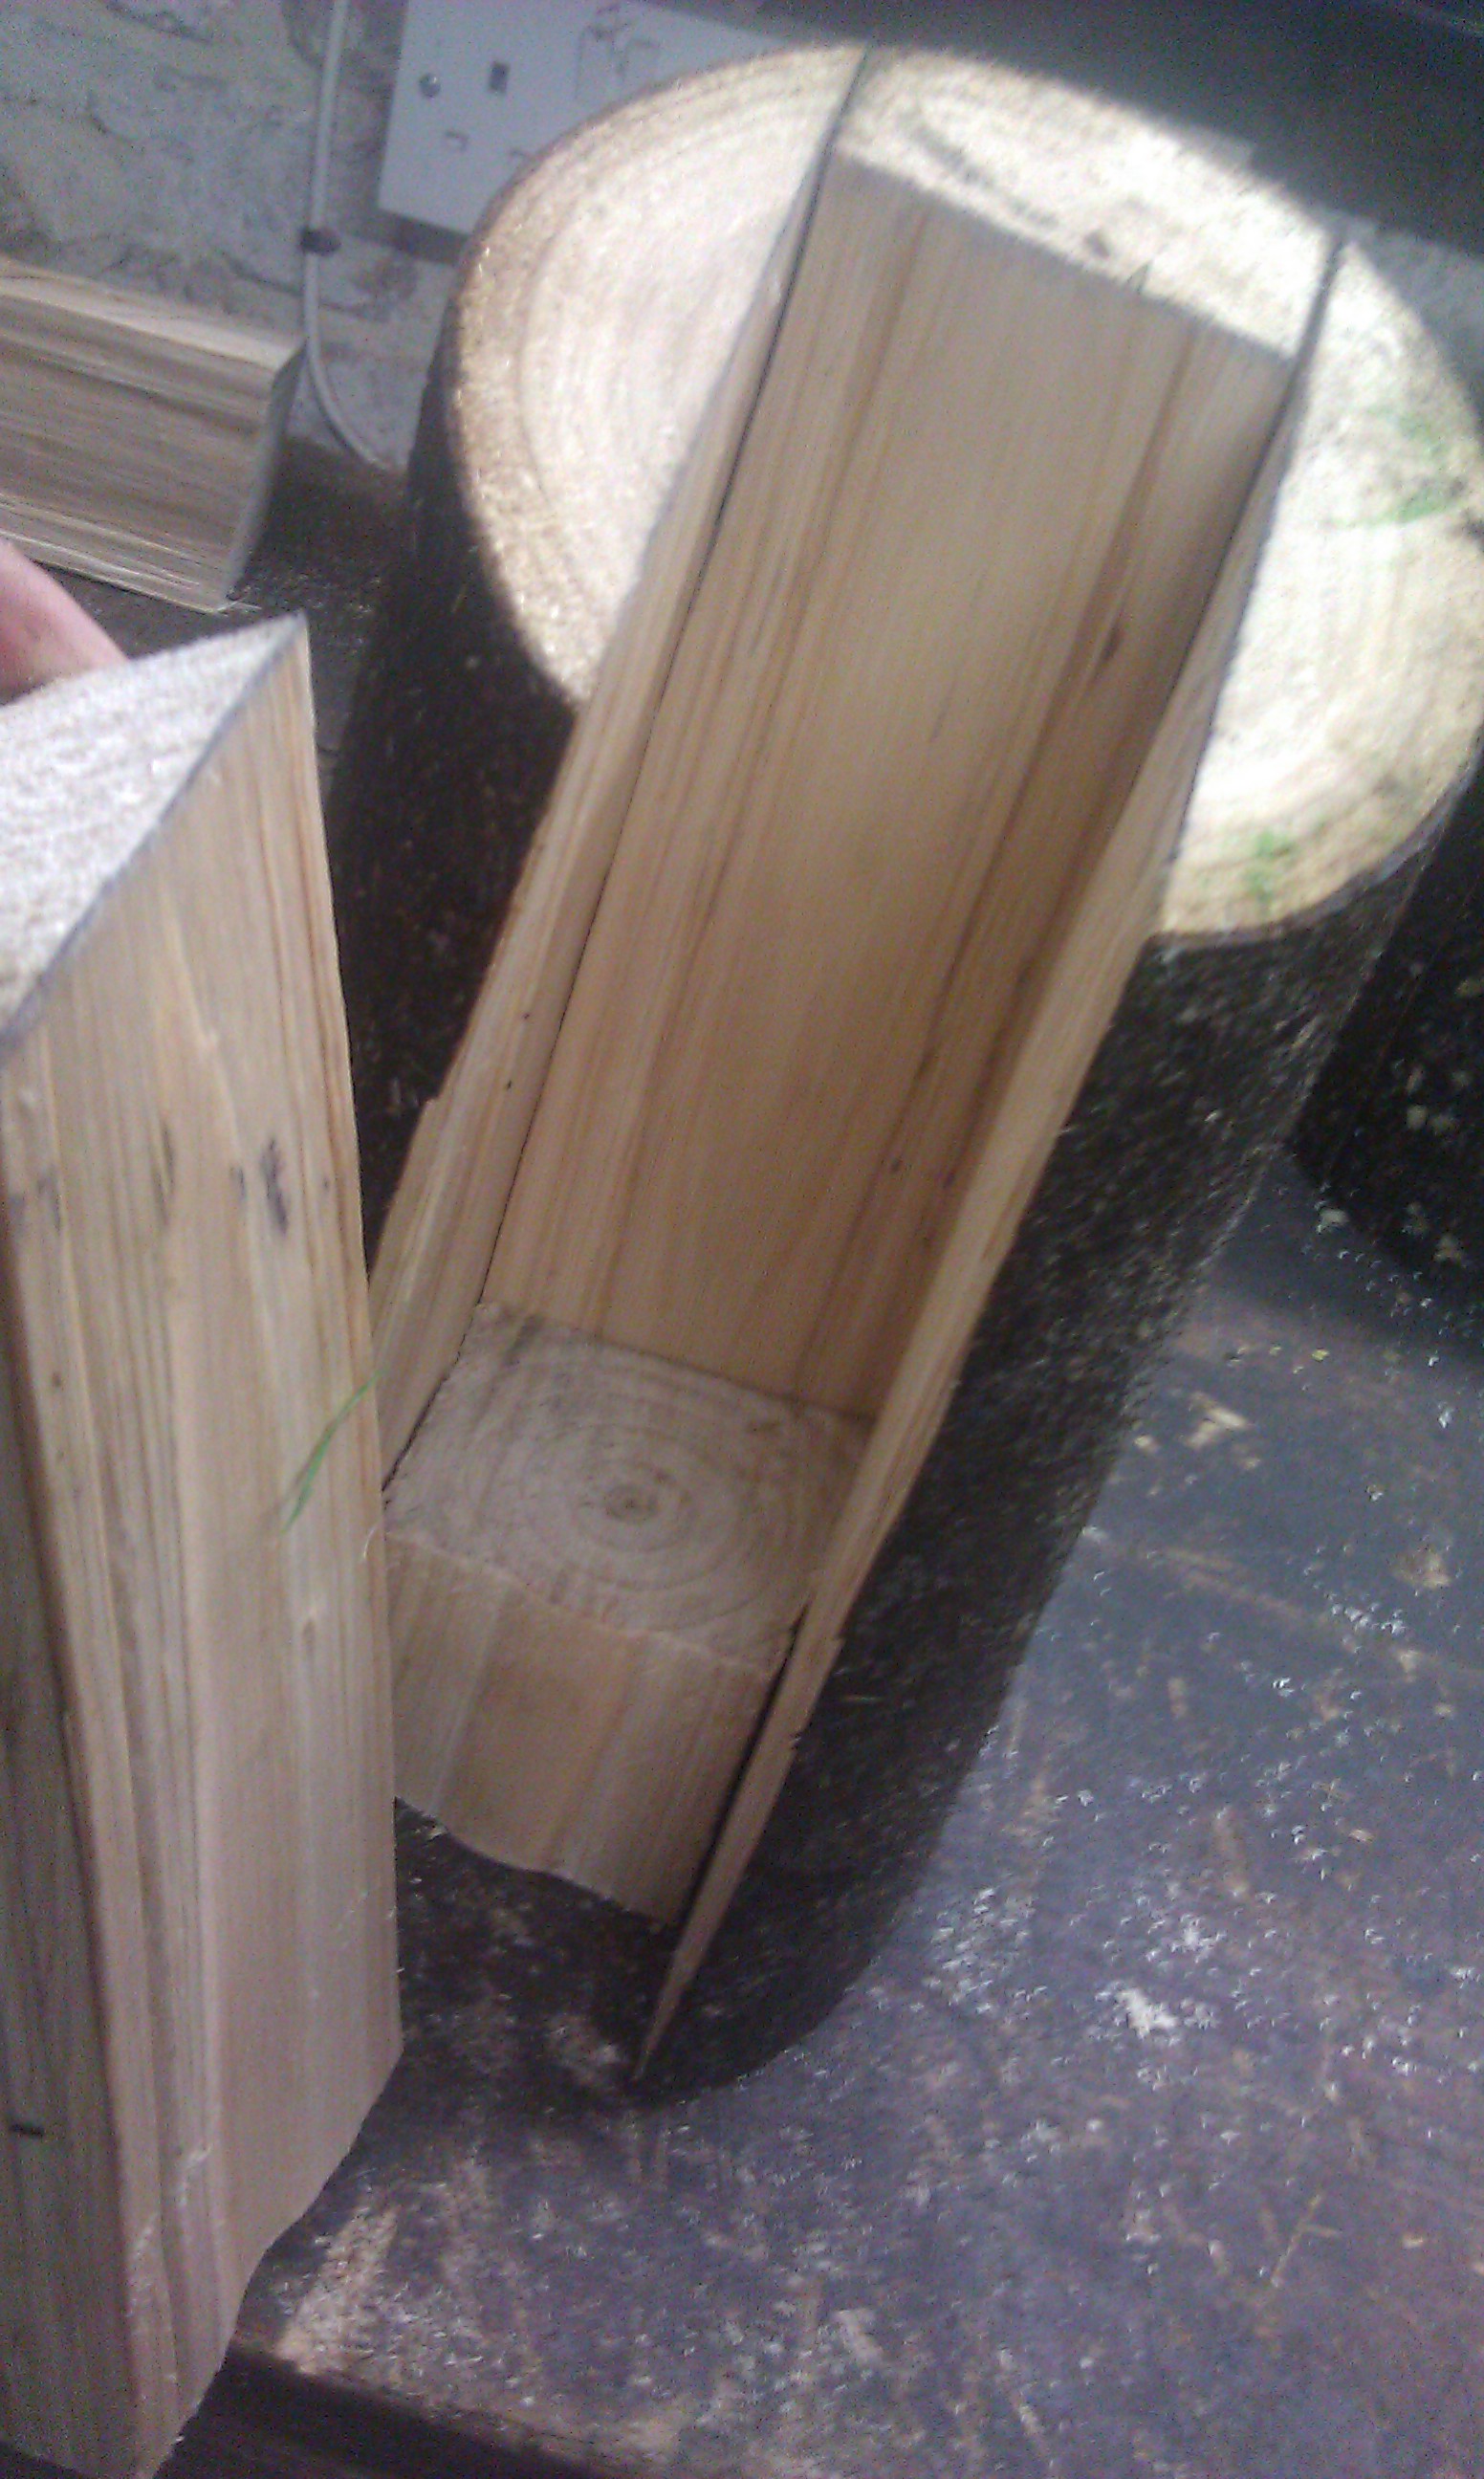
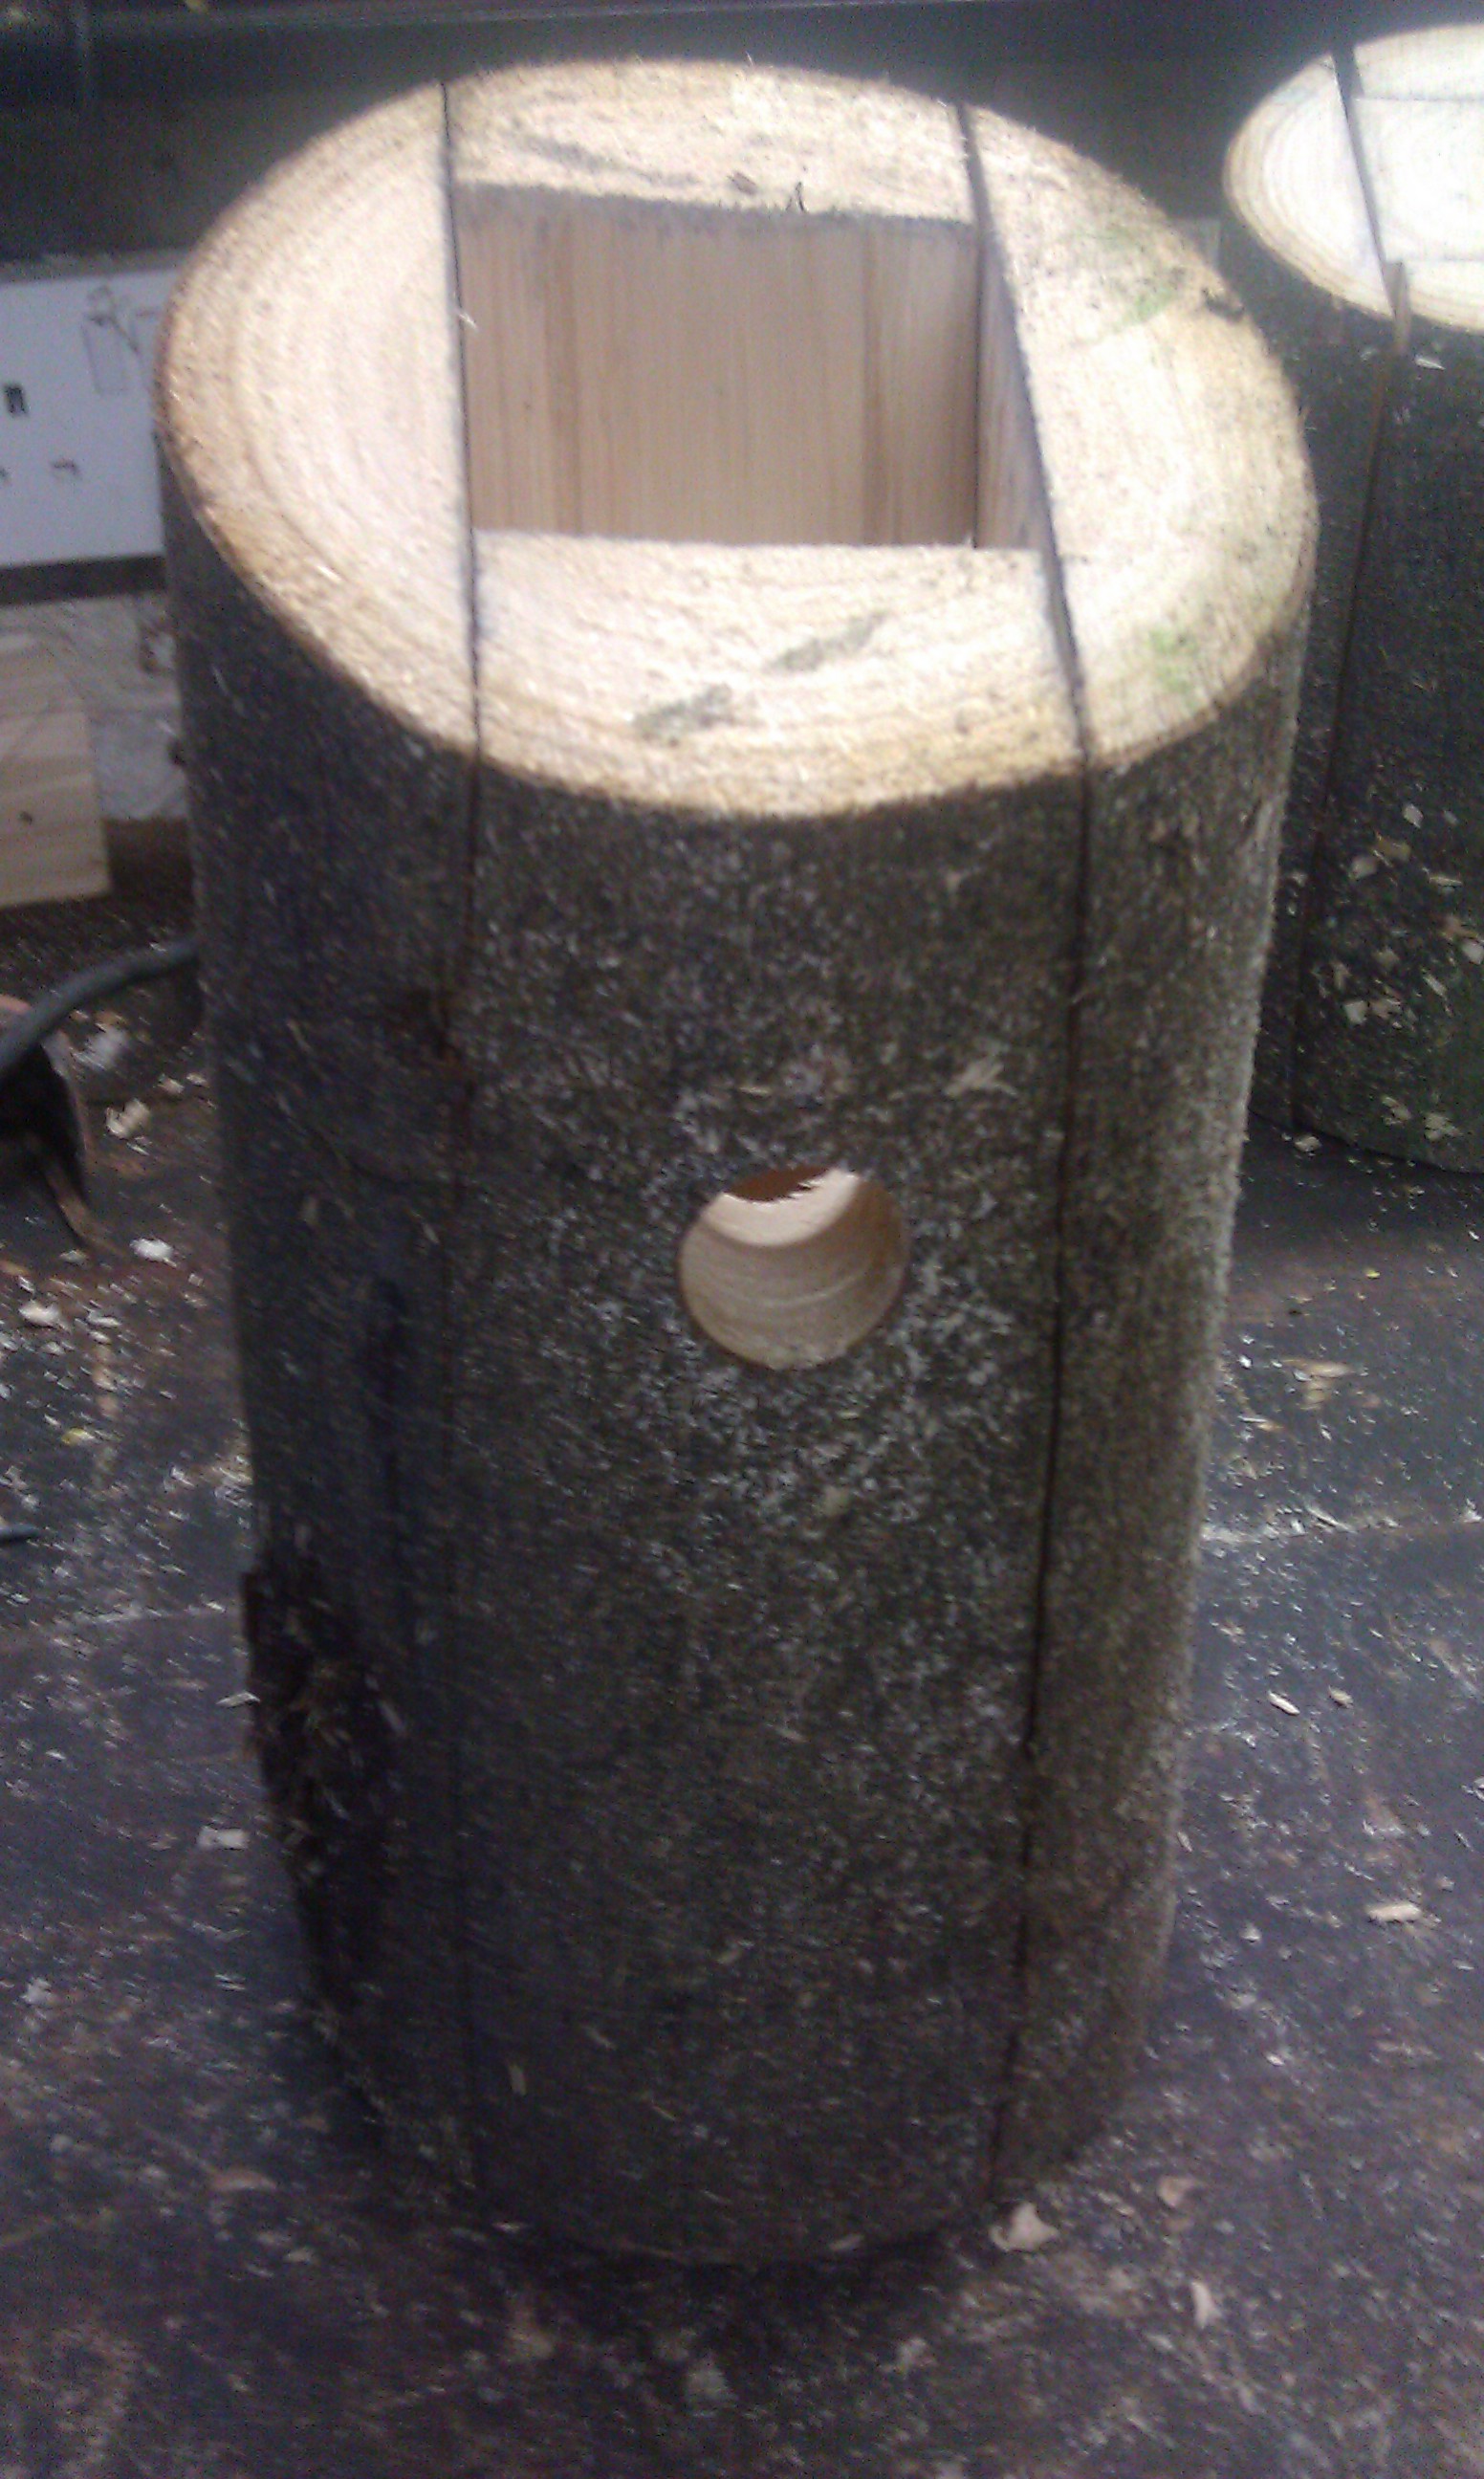
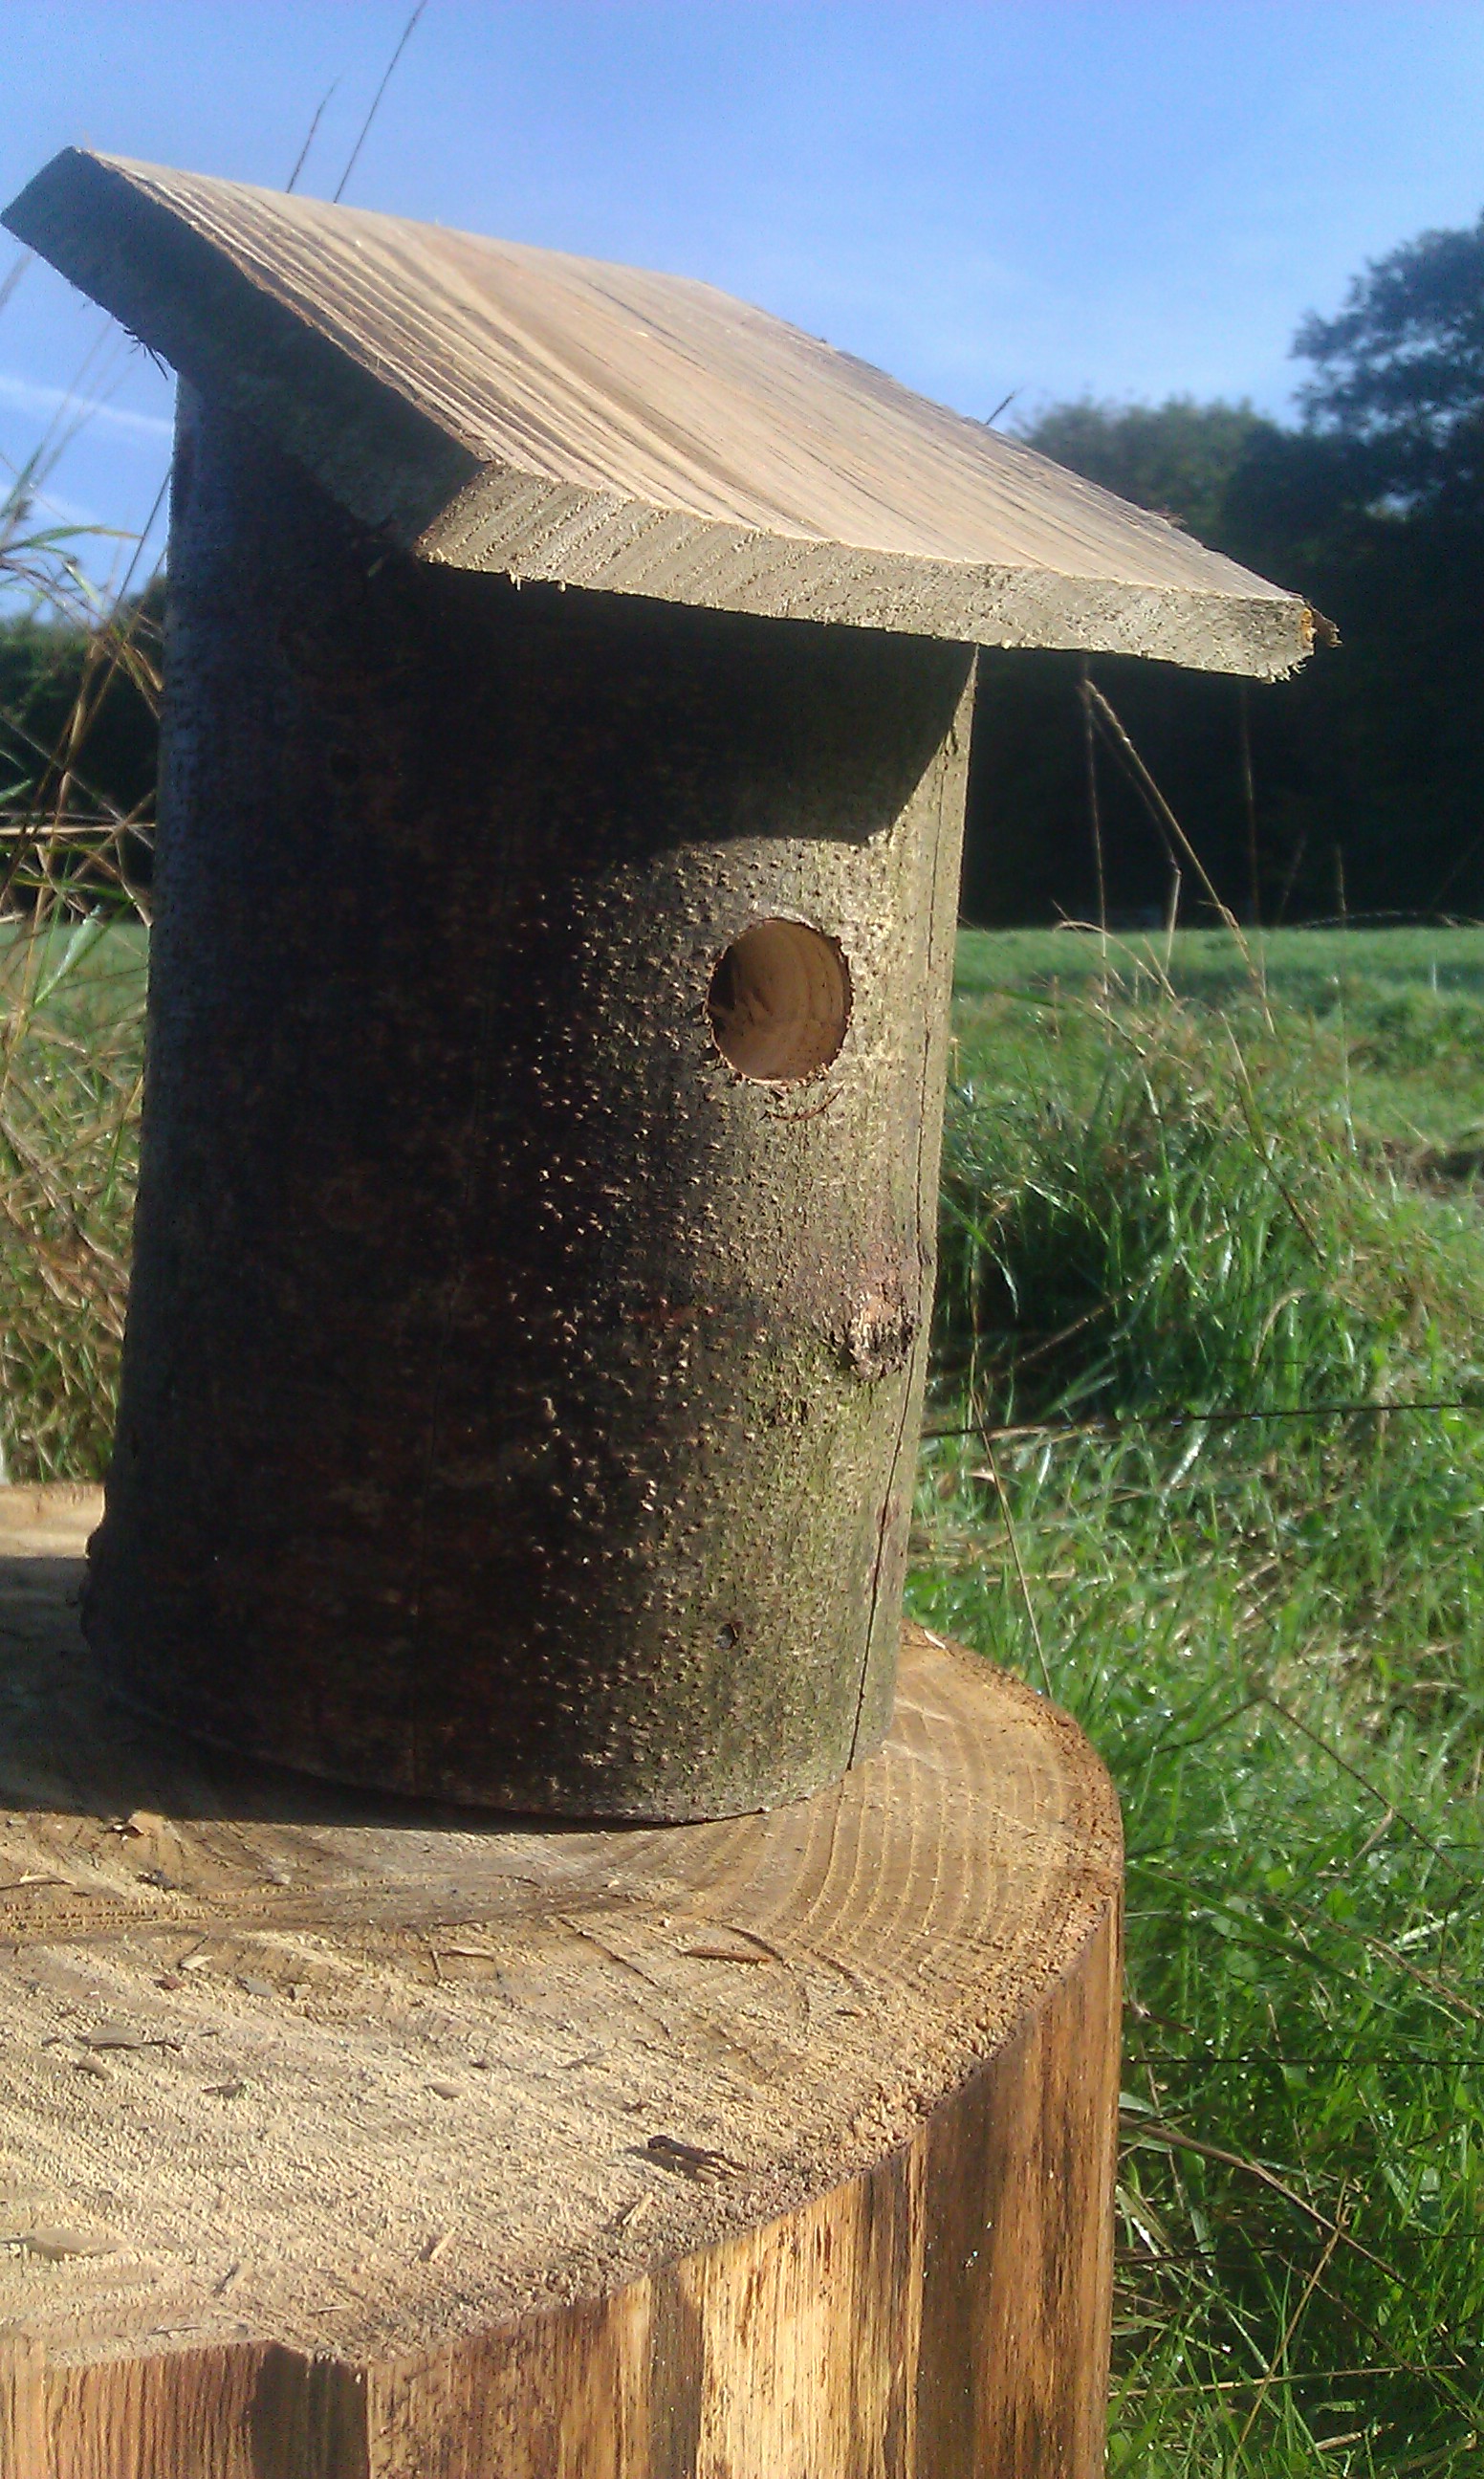
Partially assemble it and work out where you want the hole.
An inch (25mm) is the right size for Tits, or you could saw the top half of the front wall off and leave it open which is recommended for Robins or just leave a small front at the bottom and cover the rest with wire gauze and use the box as a feeder.
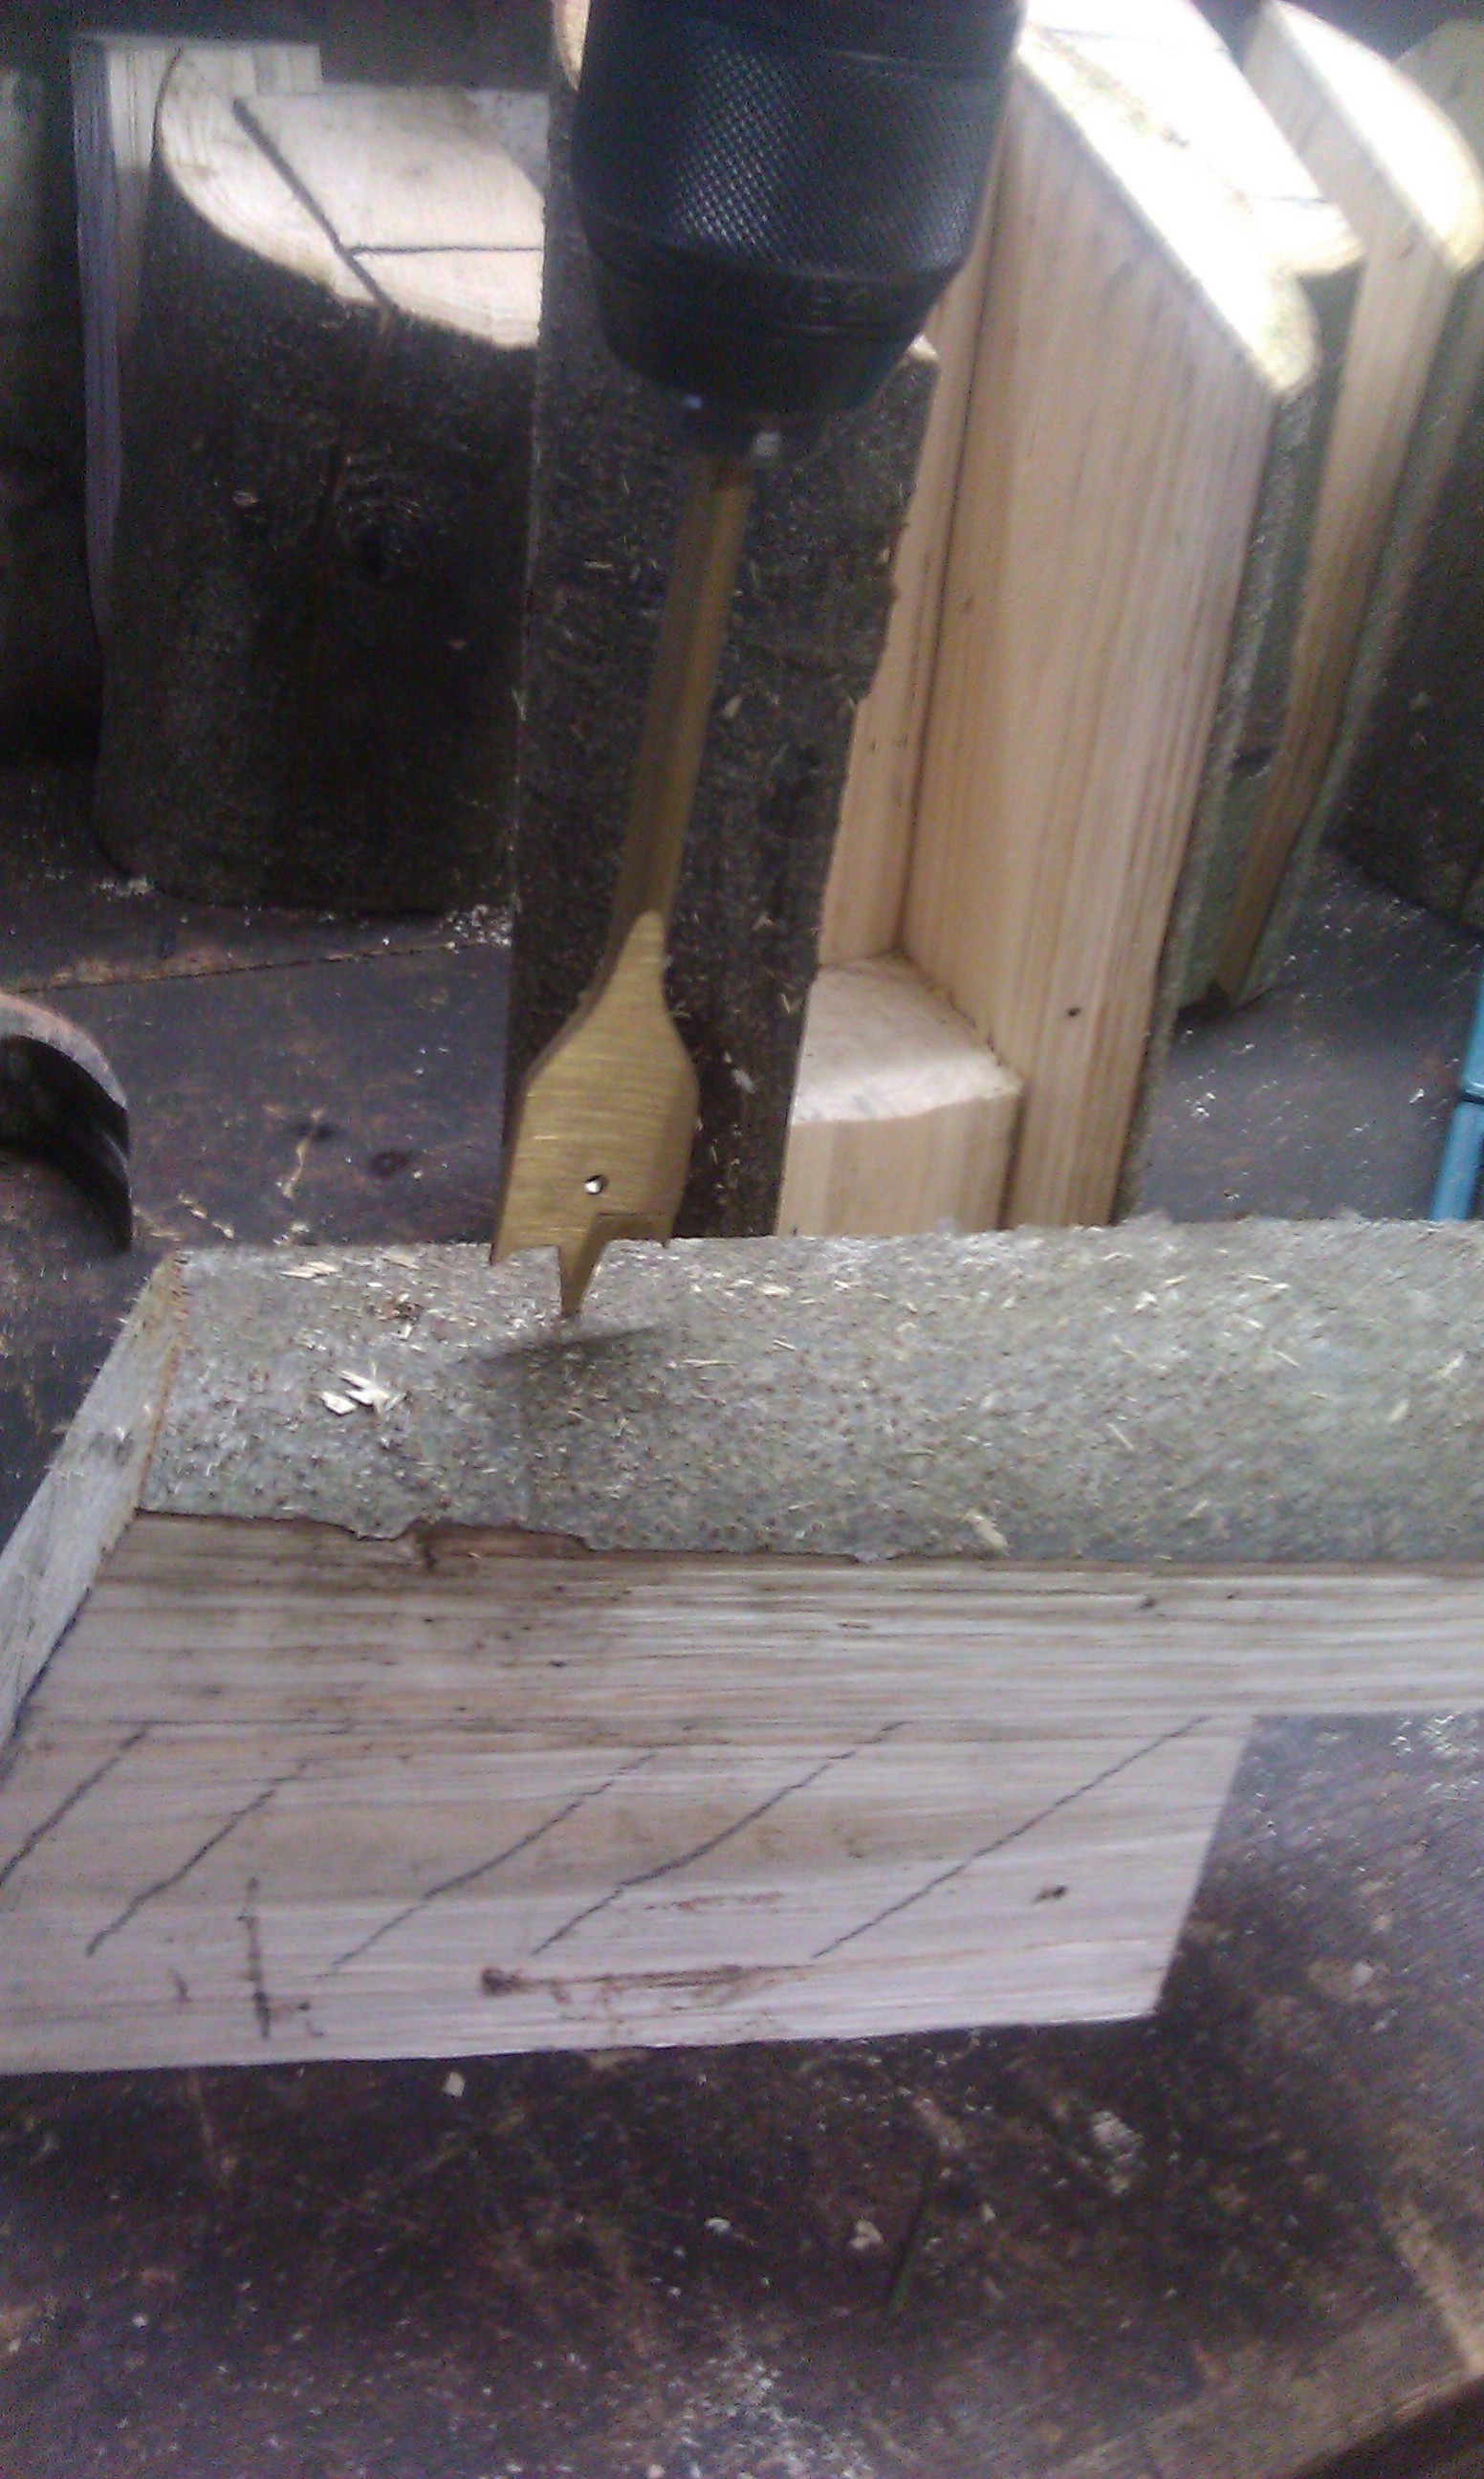
A handy hint for drilling the hole is to have a piece of wood on the other side to go into. This stops you from smashing out the back and making a mess of the interior decor! The piece of wood you discarded from the middle would be perfect for this, so go and rescue it from the log pile if that’s where it is!
Before you nail it all back together just drill some pilot holes (about 25% less in diameter than the nail itself), it should stop any splits occurring. Also make a mark directly opposite the entrance hole on the back wall and drill a clearance hole for a screw. You should then be able to access the screw through the entrance hole to fix the box to a suitable tree or post. Put the screw in NOW it is way easier than when you have put the lid on!
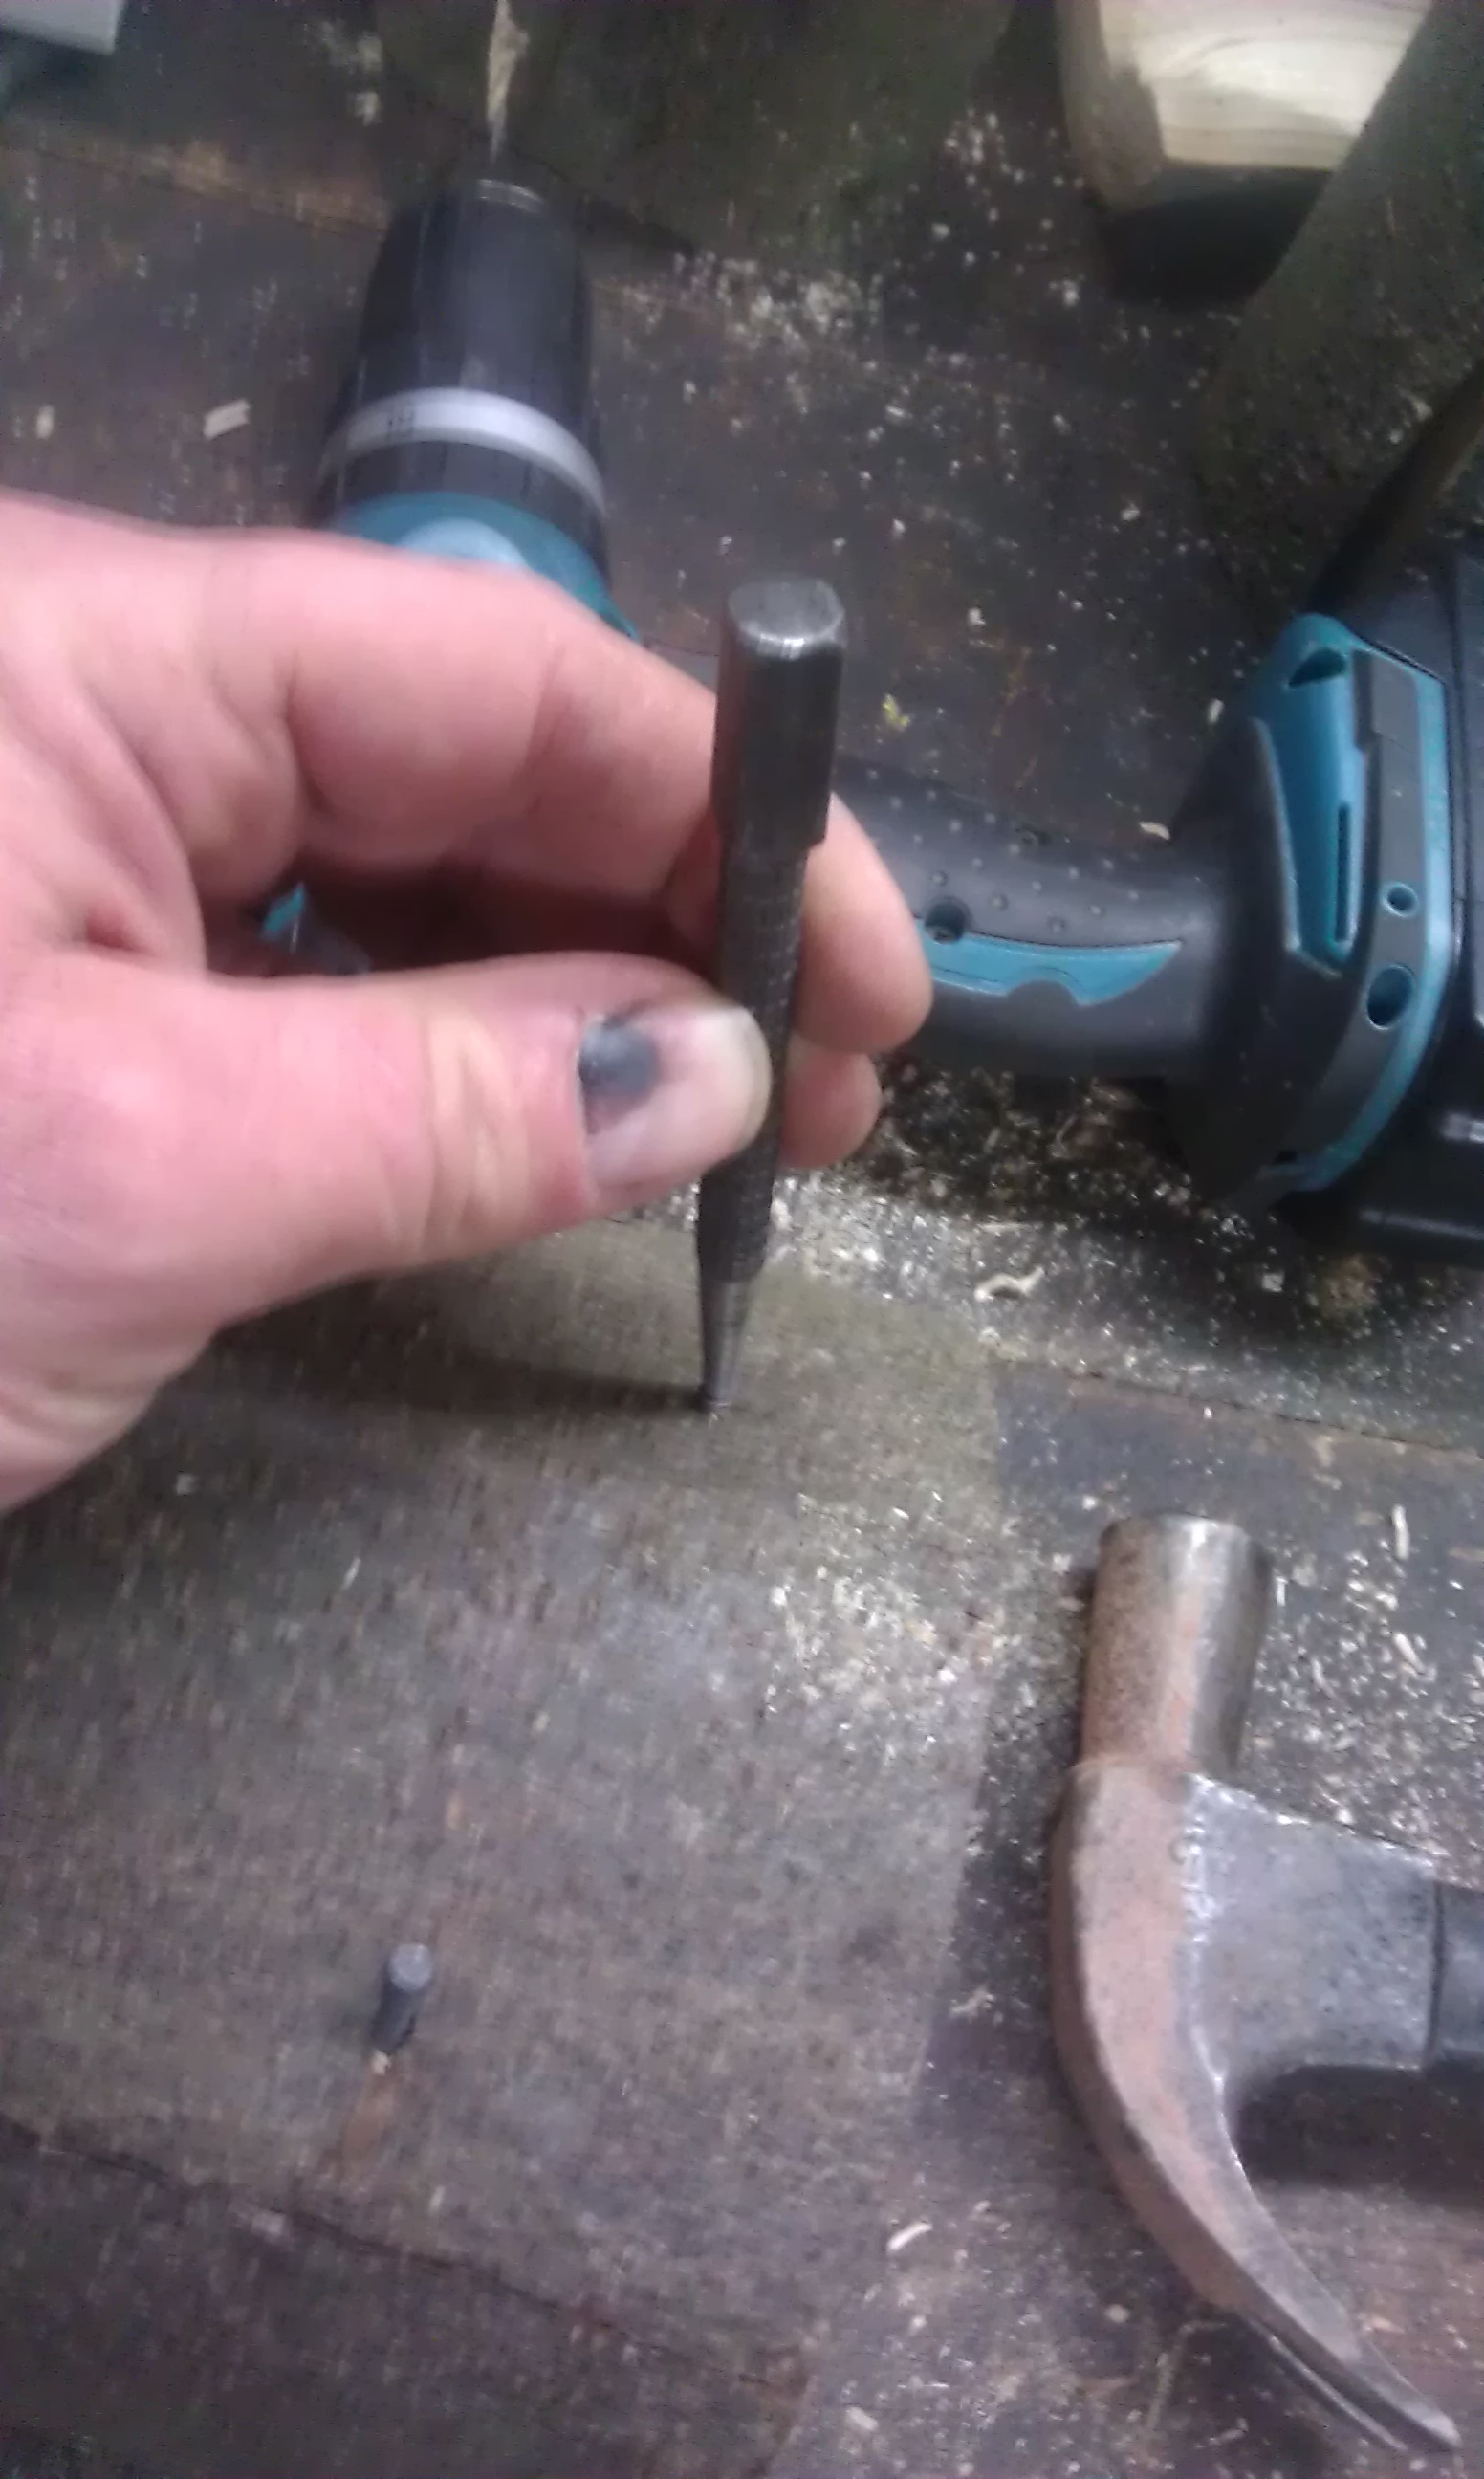
Punch the nails in to hide them if you are using lost head nails. (punch the nails, not your thumb as I appear to have done!)
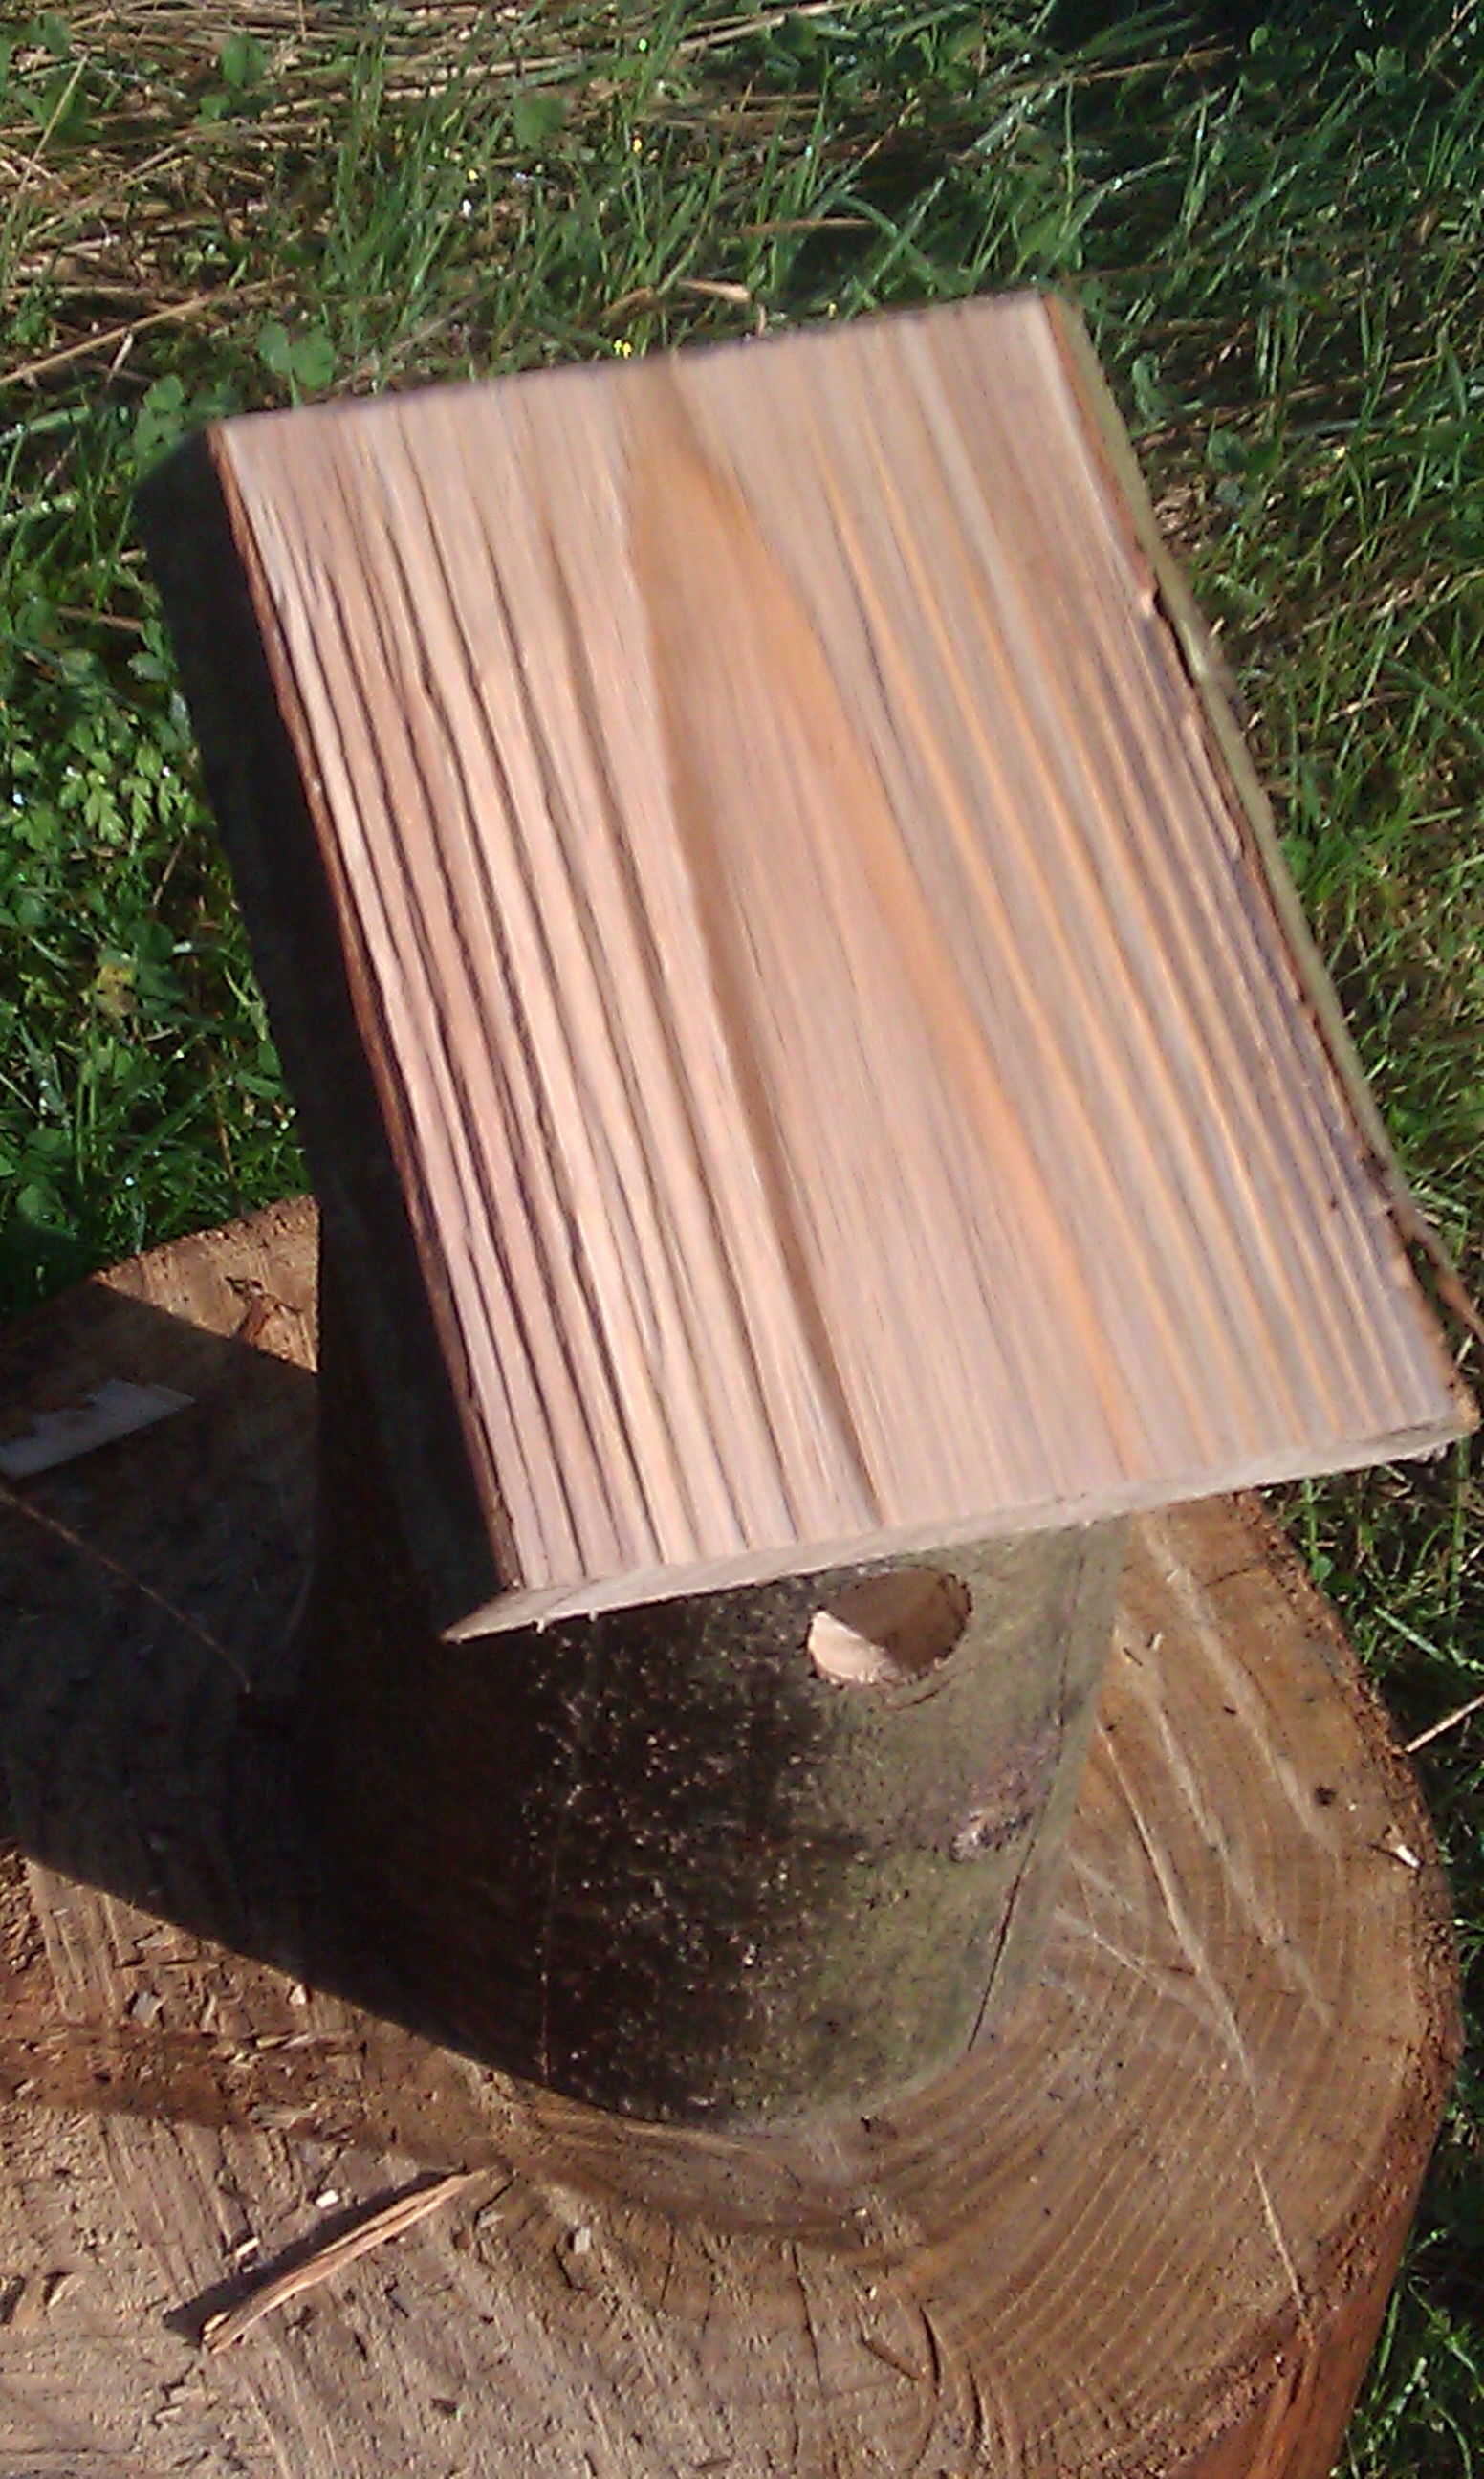
For the lid, you could just use a section of a log from one that went wrong. However, although I’m sure the birds wouldn’t mind, I prefer to use a slightly more refined version. I like to have a flat sawn finish for the underside as this will create a good seal against the walls and I cleave the top. You could screw the lid on from the top, but I like to fix it from the underside with a couple of suitably sized screws drilled in at an angle.
This gives it a nice riven texture and means as you haven’t exposed any of the end grain, the water will run off it better and not penetrate the wood. A small detail, but I’m sure generations of blue tits to come will be grateful!
This is a great project for children (under supervision of course) or those new to working with wood, there are few tools required and it teaches you quite a few of the basic skills and a lot about how wood behaves.
So why buy any birdboxes for your wood in future, you’ve everything you need already and not a sign of any nasty chemically treated softwood or ply!