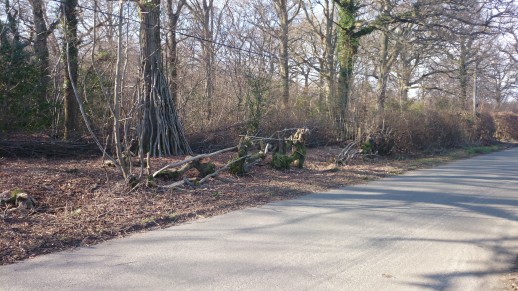
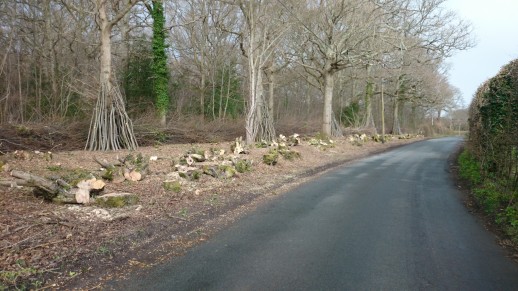
After sitting around for most of the winter, like most people I was going a bit stir crazy waiting for the weather to break so I could get on with some work in the woods. Top of my list was this roadside hedge restoration, mainly of hornbeam, it had some poorly spaced old stools which over the years, had been cut higher and higher. With most of the re-growth starting at 3 or 4 feet high, I felt there was little chance of laying it successfully and the only way to restore it would be to coppice it down as low as possible and start again. To add to the complexity of the task, the stems had grown up into a telephone wire meaning I had a slow and awkward job of unpicking the mass of branches with a combination of pole saw and loppers.
If that wasn’t enough, the week before I started, a tractor had gone down with a flail, smashing off potential stems I might have been able to lay into the gaps.
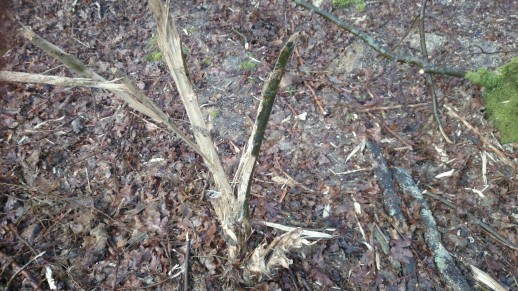
Despite all these difficulties the sun spurred me on and I made a start at the beginning of a welcome 2 weeks of beautiful weather.
Because of the overhanging cable, I found it easier to coppice back into the wood, clearing a space and making it easier to drag the stems back and out of the way.
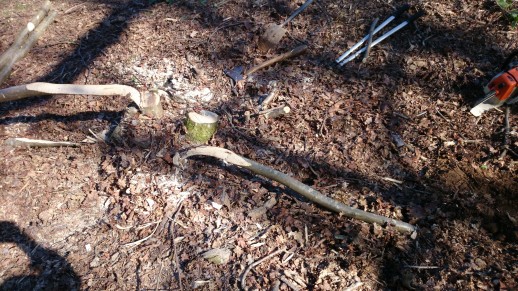
Any stems that were low enough I pleached over and layered into the gaps. If you’ve not done pleaching before, it will take a bit of practice, basically you are trying to sever the stem until it will bend over and lay down but you must leave enough of the bark and sap wood to keep the stem alive.
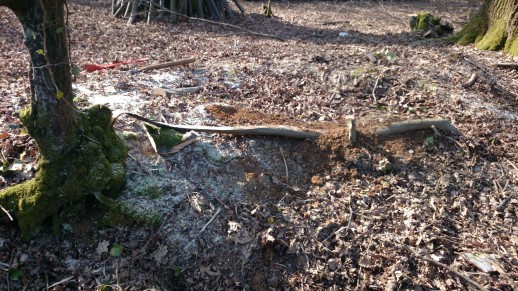
‘Layering’ is different to ‘laying’, with a well stocked dense hedge, you would just pleach and lay over the stems as low down as you can so as to make it stock proof, then depending on the style you are using, you might put some stakes in at a forearm’s length apart then weave some binders, usually hazel, into the stakes to hold it all down. Because I had lots of gaps in the hedge, I pleached any suitable stems over into the gaps, dug a shallow trench in the soil, scraped off some bark on the underside and pegged them into the ground. I’m hoping that where I’ve done this, the stems will root and eventually become independent from the original pleacher making a thicker and more impenetrable barrier.
You could also plant saplings into the gaps, but I prefer this method as there is no watering to do and the new growth is feeding off the centuries old, mature root system instead of trying to compete with it.
Normally you would send all your pleachers in the same direction, starting at the highest point and working downhill, so your pleachers are pointing uphill. In this case it was fairly level and with so little to work with, I took every opportunity to get stems in the ground and pleached in both directions where necessary.
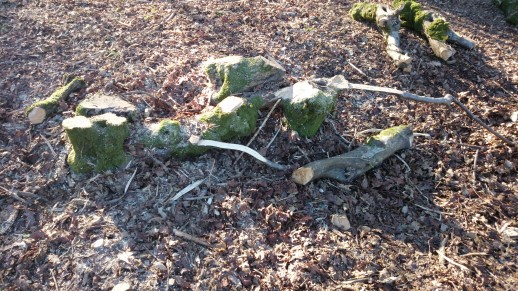
Eventually I managed to get all possible stems layered into the gaps. The next part was the brutal demolition of 3 saw chains. I wanted to get these big stools down nearer the ground so that in a few years time the new growth can be laid over to finish the restoration. These stools looked to me like they were a good few hundred years old, all covered in moss and soil which has built up in all the nooks and crevices. Being roadside, they have also been accumulating years of road grit and grime. Each stool took its toll on the saw and the operator as I had to re-sharpen the chain at each cut. It looks severe now, but starting again is sometimes the only option.
Now it’s just a question of watching and waiting for it all to come back… it’s a slow process, but it’s had some help from the sun…and the pleacher man!
